
Documentation
Everything you need to know about creating, managing, and sharing interactive flipbooks with AI-powered features.
1. Introduction
The Flipbook Viewer is a sophisticated digital document presentation system that transforms static documents into engaging, interactive reading experiences. Built for modern web browsers, it provides a seamless way to display, navigate, and interact with multi-page documents such as brochures, reports, presentations, and publications.
This documentation covers all features of the Flipbook Viewer as implemented at buildanyflipbook.com, including the user interface, navigation controls, accessibility features, and AI-powered document interaction capabilities.
💡 New to Build Any Flipbook? Start by creating a free account, then upload your first PDF to see the viewer in action!
2. Interface Overview
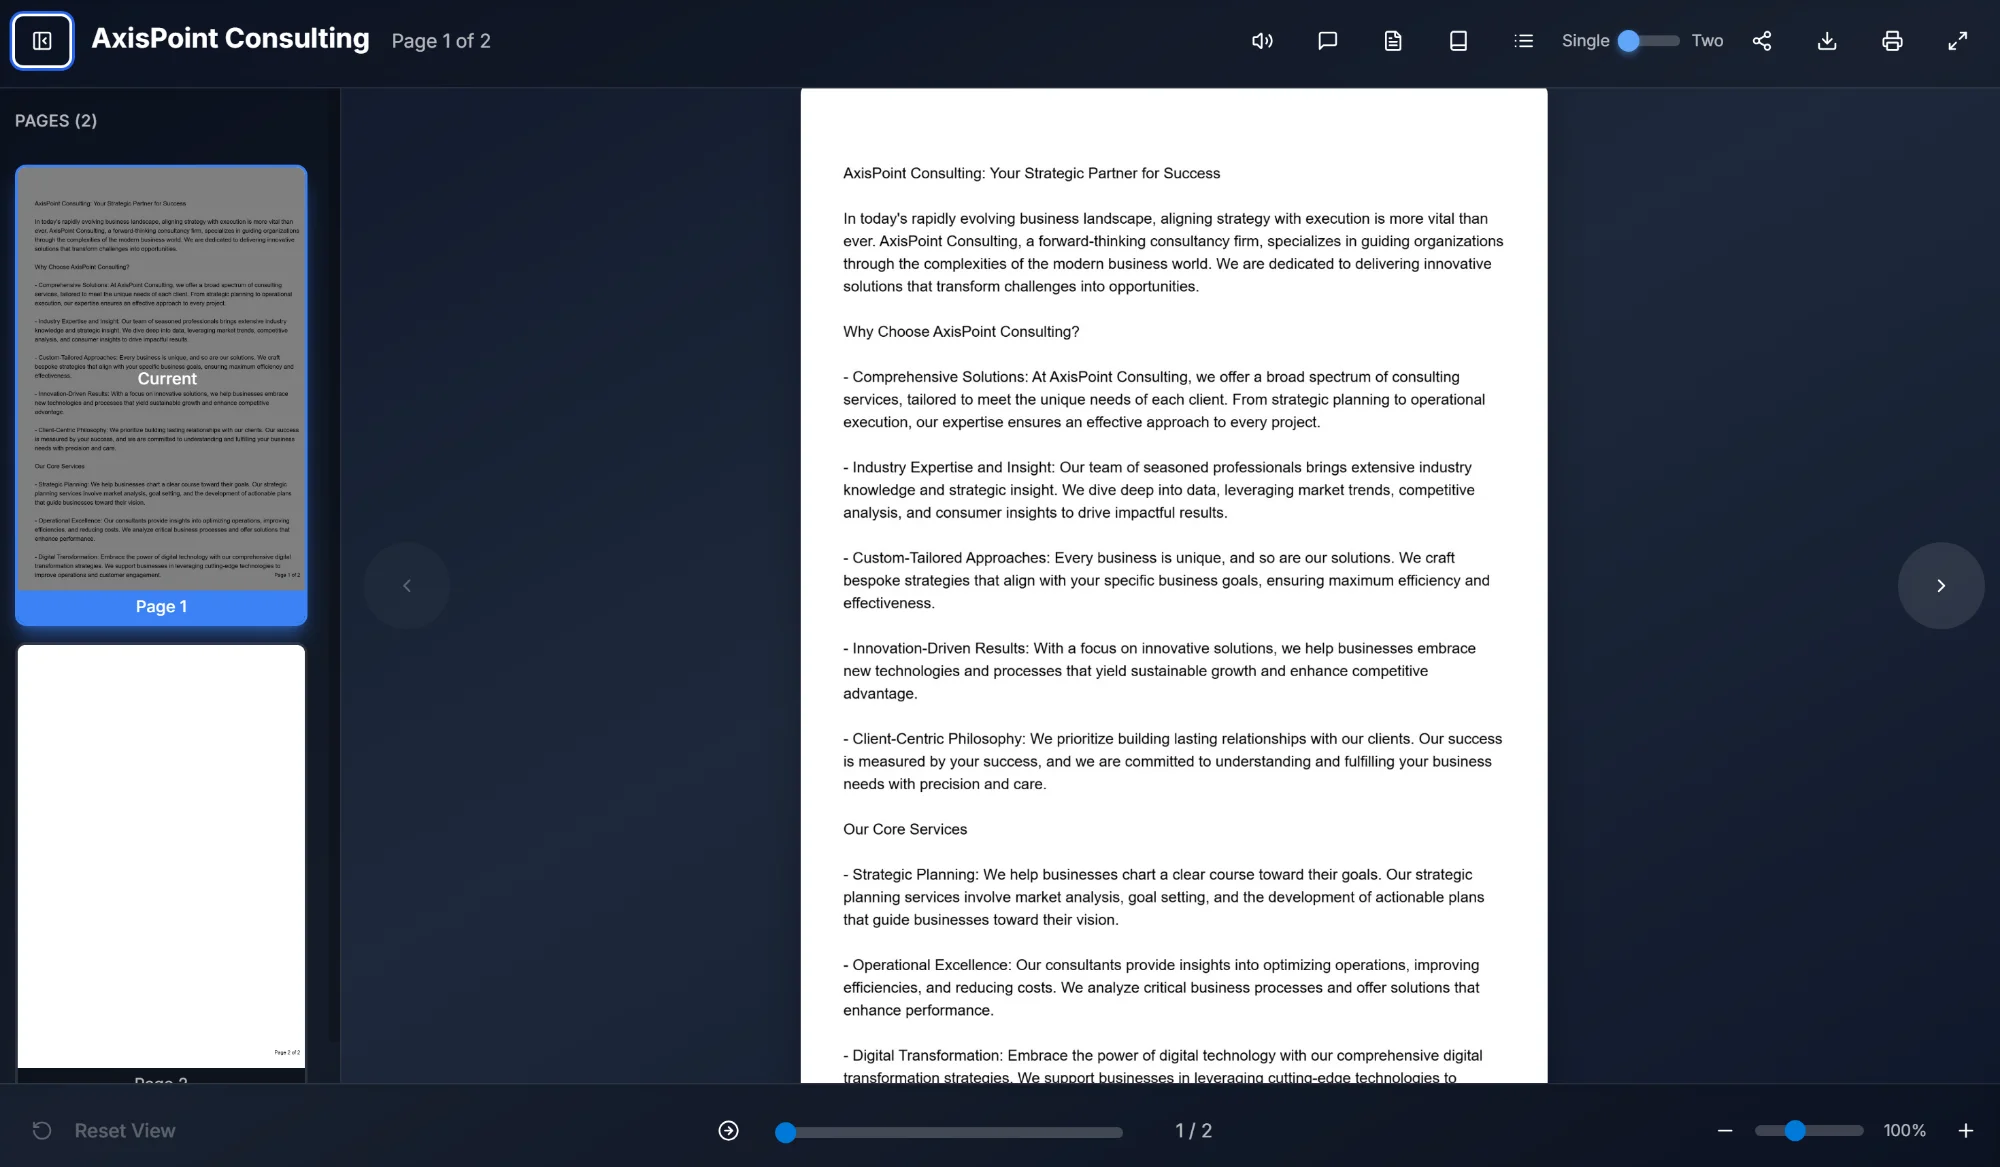
The Flipbook Viewer interface is divided into three main areas: the page thumbnail panel on the left, the main document viewing area in the center, and the toolbar at the top. This layout provides intuitive document navigation while maximizing the reading area.
2.1 Document Header
The header bar displays essential document information including the document title (e.g., "AxisPoint Consulting") and the current page indicator showing your position within the document (e.g., "Page 1 of 2"). This information remains visible at all times for easy reference.
2.2 Page Thumbnails Panel
Located on the left side of the interface, the page thumbnails panel provides a visual overview of all document pages. Key features include:
- Visual page previews: Miniature representations of each page for quick identification
- Current page indicator: The currently viewed page is highlighted with a blue border and "Current" label
- Page labels: Each thumbnail displays its page number (e.g., "Page 1", "Page 2")
- Click navigation: Click any thumbnail to jump directly to that page
- Page count display: The panel header shows the total number of pages (e.g., "PAGES (2)")
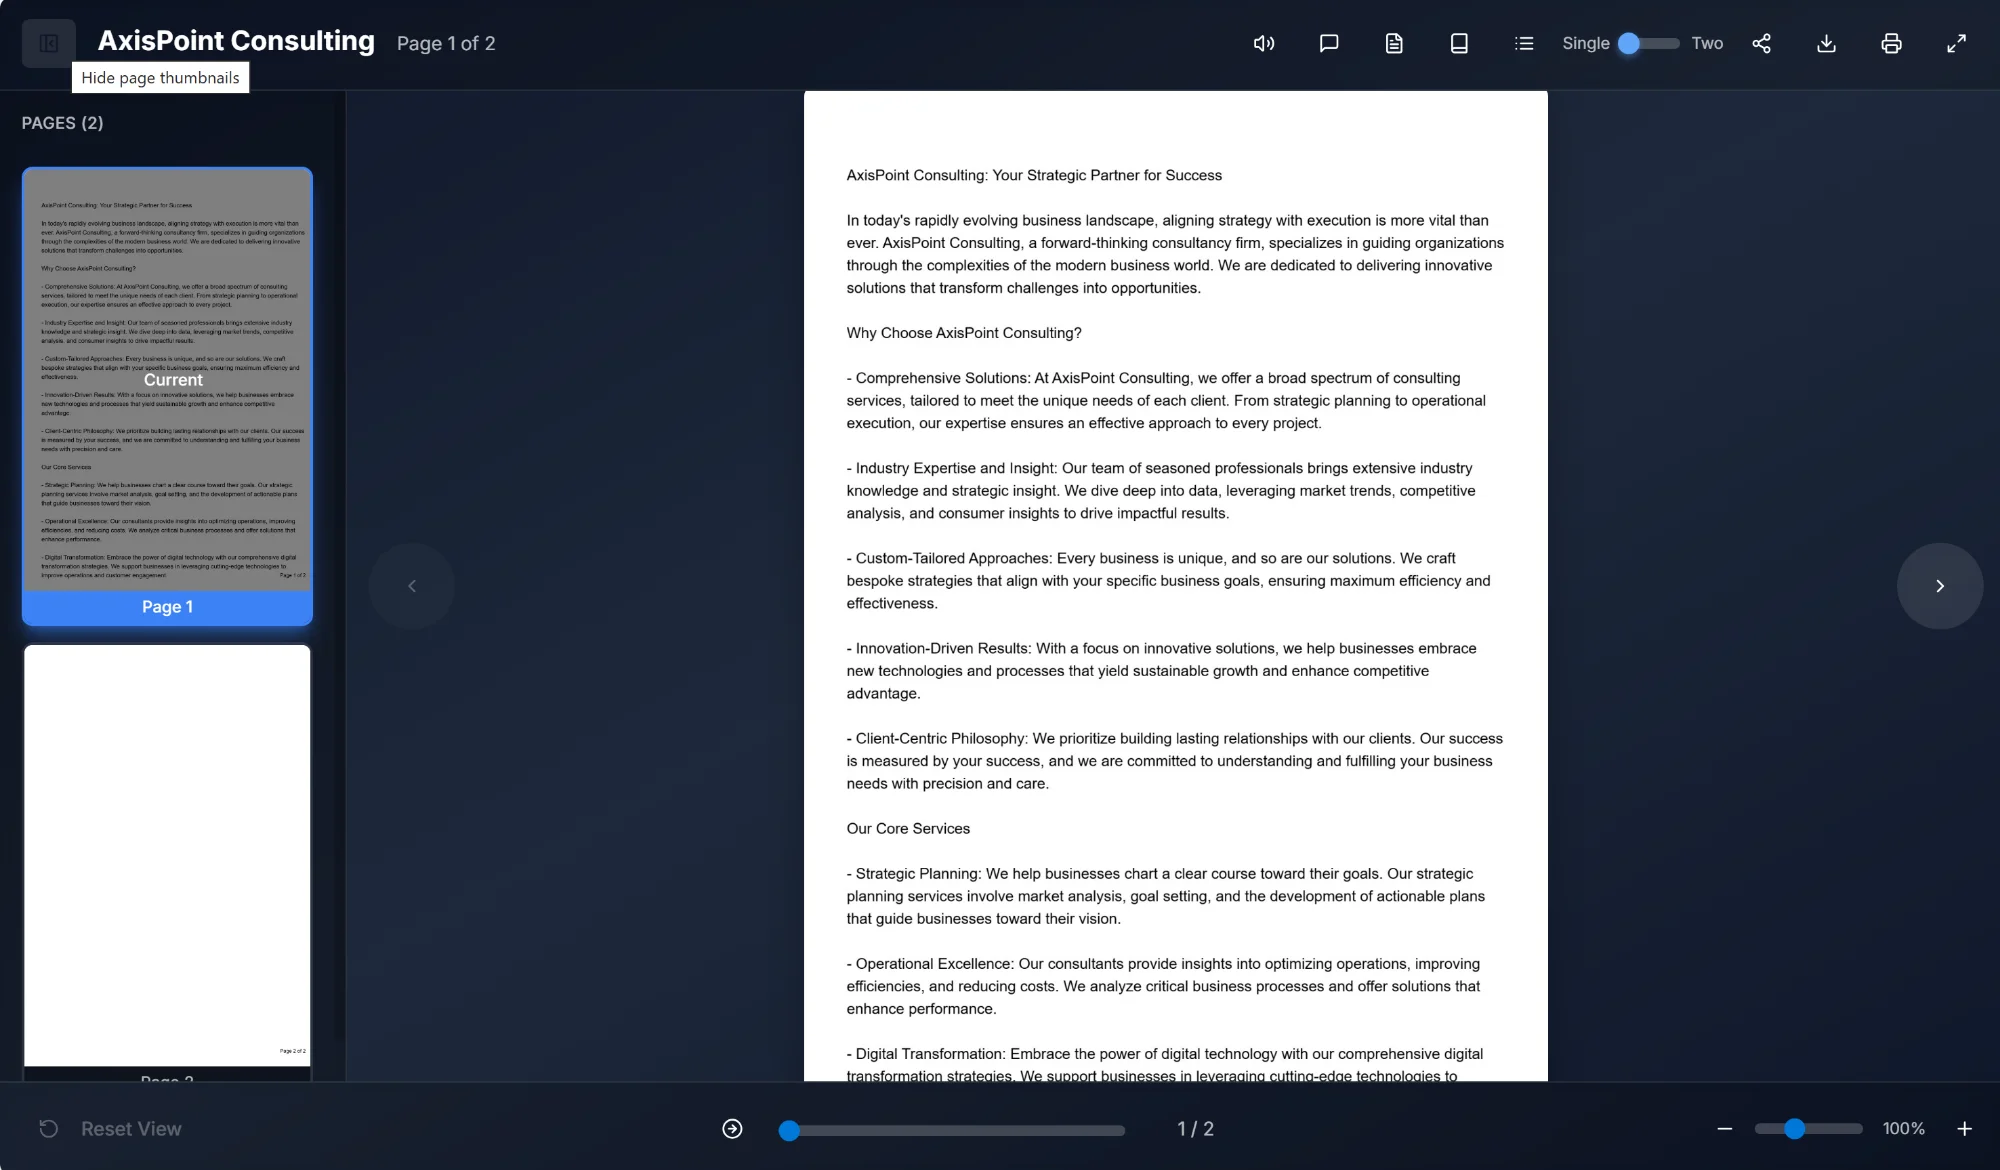
The thumbnails panel can be toggled on or off using the "Hide page thumbnails" button located at the top-left corner of the interface. Hiding the panel provides more screen space for the main document view.
3. Toolbar Features
The toolbar at the top of the viewer provides access to all major features and controls. From left to right, the toolbar includes the following elements:
| Feature | Description |
|---|---|
| Text to Speech | Reads the document content aloud using synthesized speech. Useful for accessibility and hands-free reading. |
| Chat with Document | Opens an AI-powered chat interface for asking questions about the document content and receiving intelligent responses. |
| Summary | Generates an AI-powered summary of the document's key points and main content. |
| Glossary | Displays definitions of key terms and concepts found within the document. |
| FAQ | Displays AI-generated frequently asked questions and answers based on the document content. |
| Table of Contents | Shows an AI-generated structured table of contents with clickable page references for quick navigation. |
| Quiz | Opens an interactive AI-generated quiz to test comprehension of the document content. |
| Search | Enables full-text search across the entire document to find specific content quickly. |
| View Mode Toggle | Switches between Single page view and Two-page spread view for different reading preferences. |
| Share | Provides options to share the flipbook via LinkedIn, X (Twitter), Facebook, copy link, or copy PDF link. |
| Download | Downloads the original document file to your device. |
| Print Flipbook | Opens the browser's print dialog to print the flipbook or save as PDF. |
| Enter Fullscreen | Expands the viewer to fill the entire screen for immersive, distraction-free reading. |
3.1 View Mode Toggle
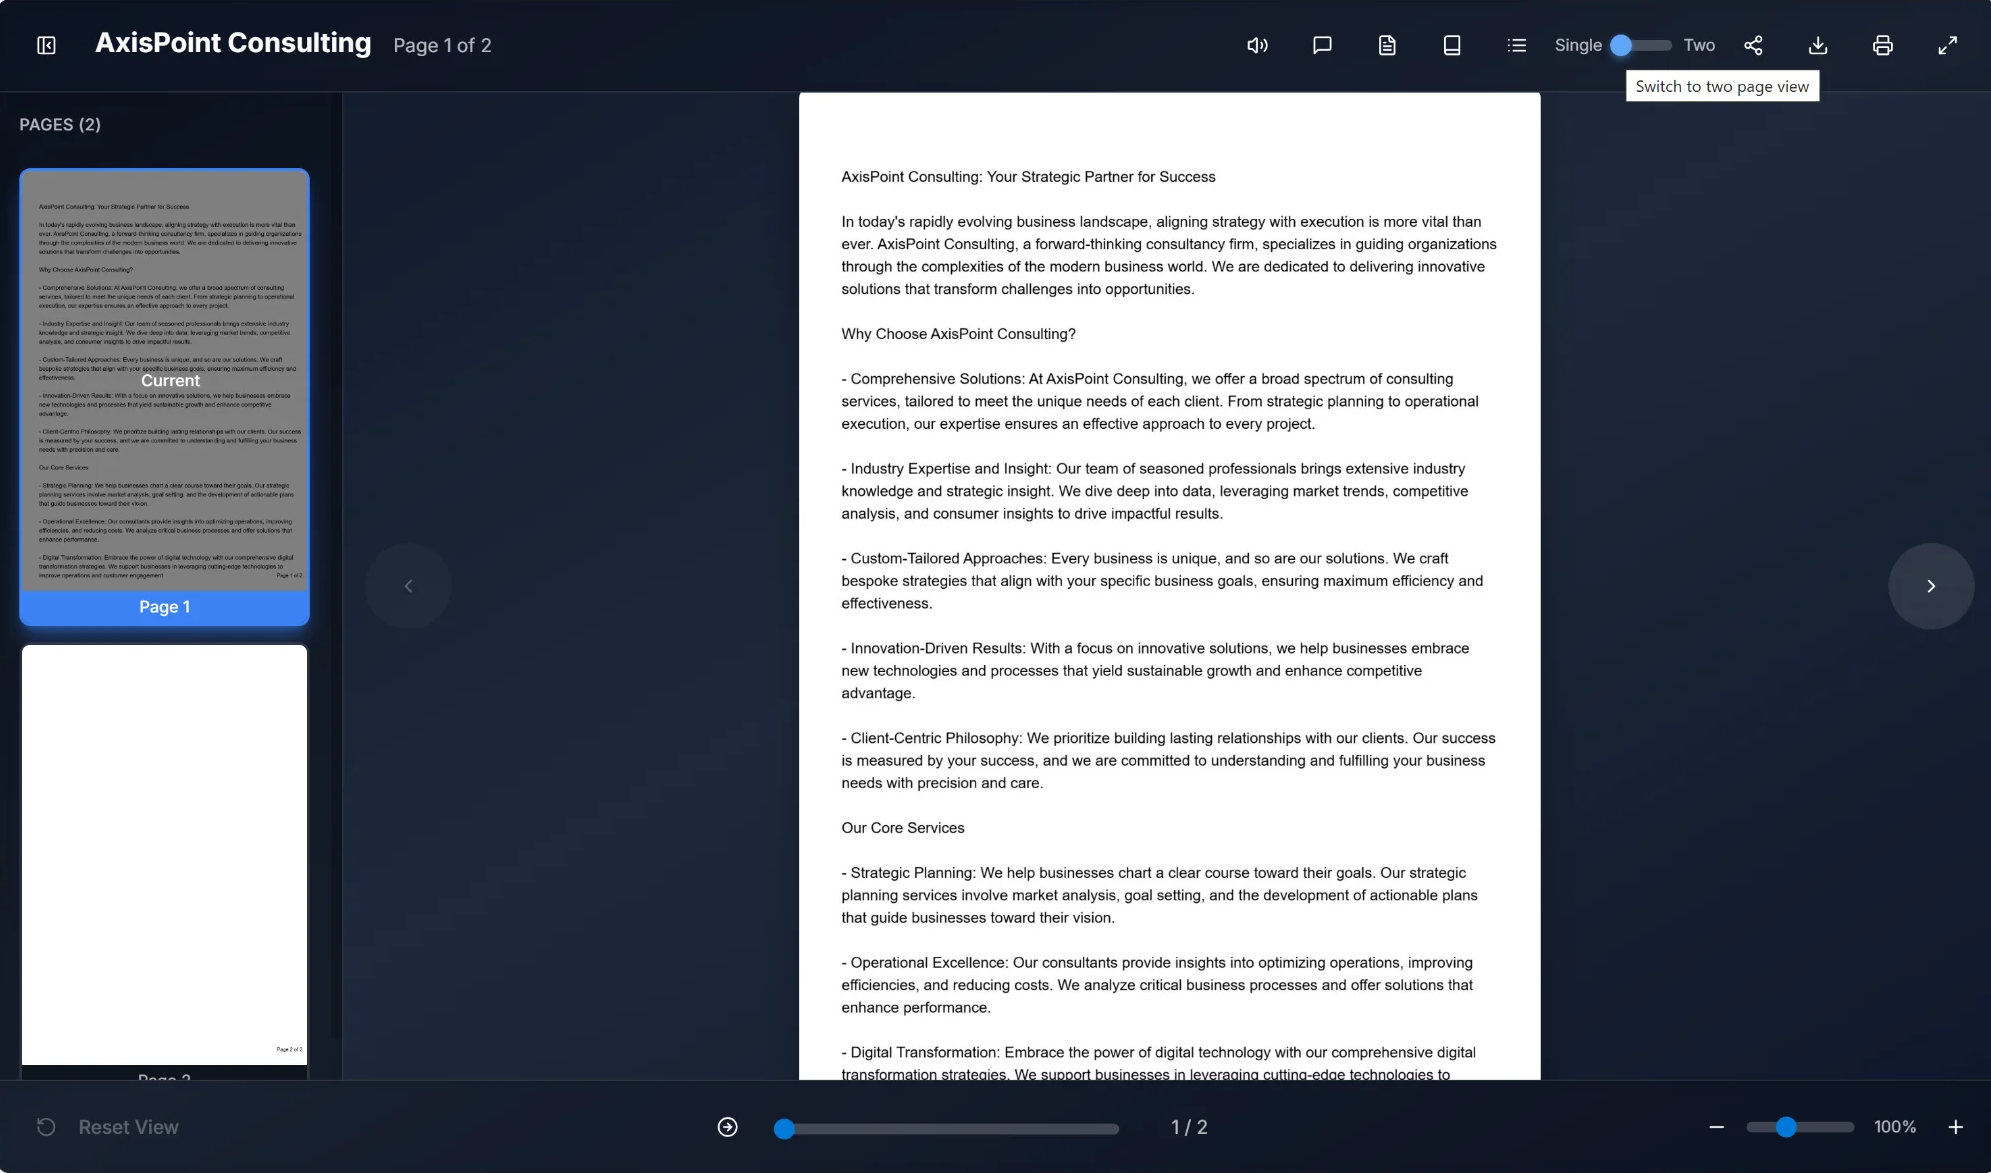
The view mode toggle allows you to switch between single page and two-page spread views. The toggle is located in the toolbar and shows "Single" and "Two" options with a sliding selector. When hovering over the toggle, a tooltip displays "Switch to two page view" to indicate the available action.
3.2 Share Feature
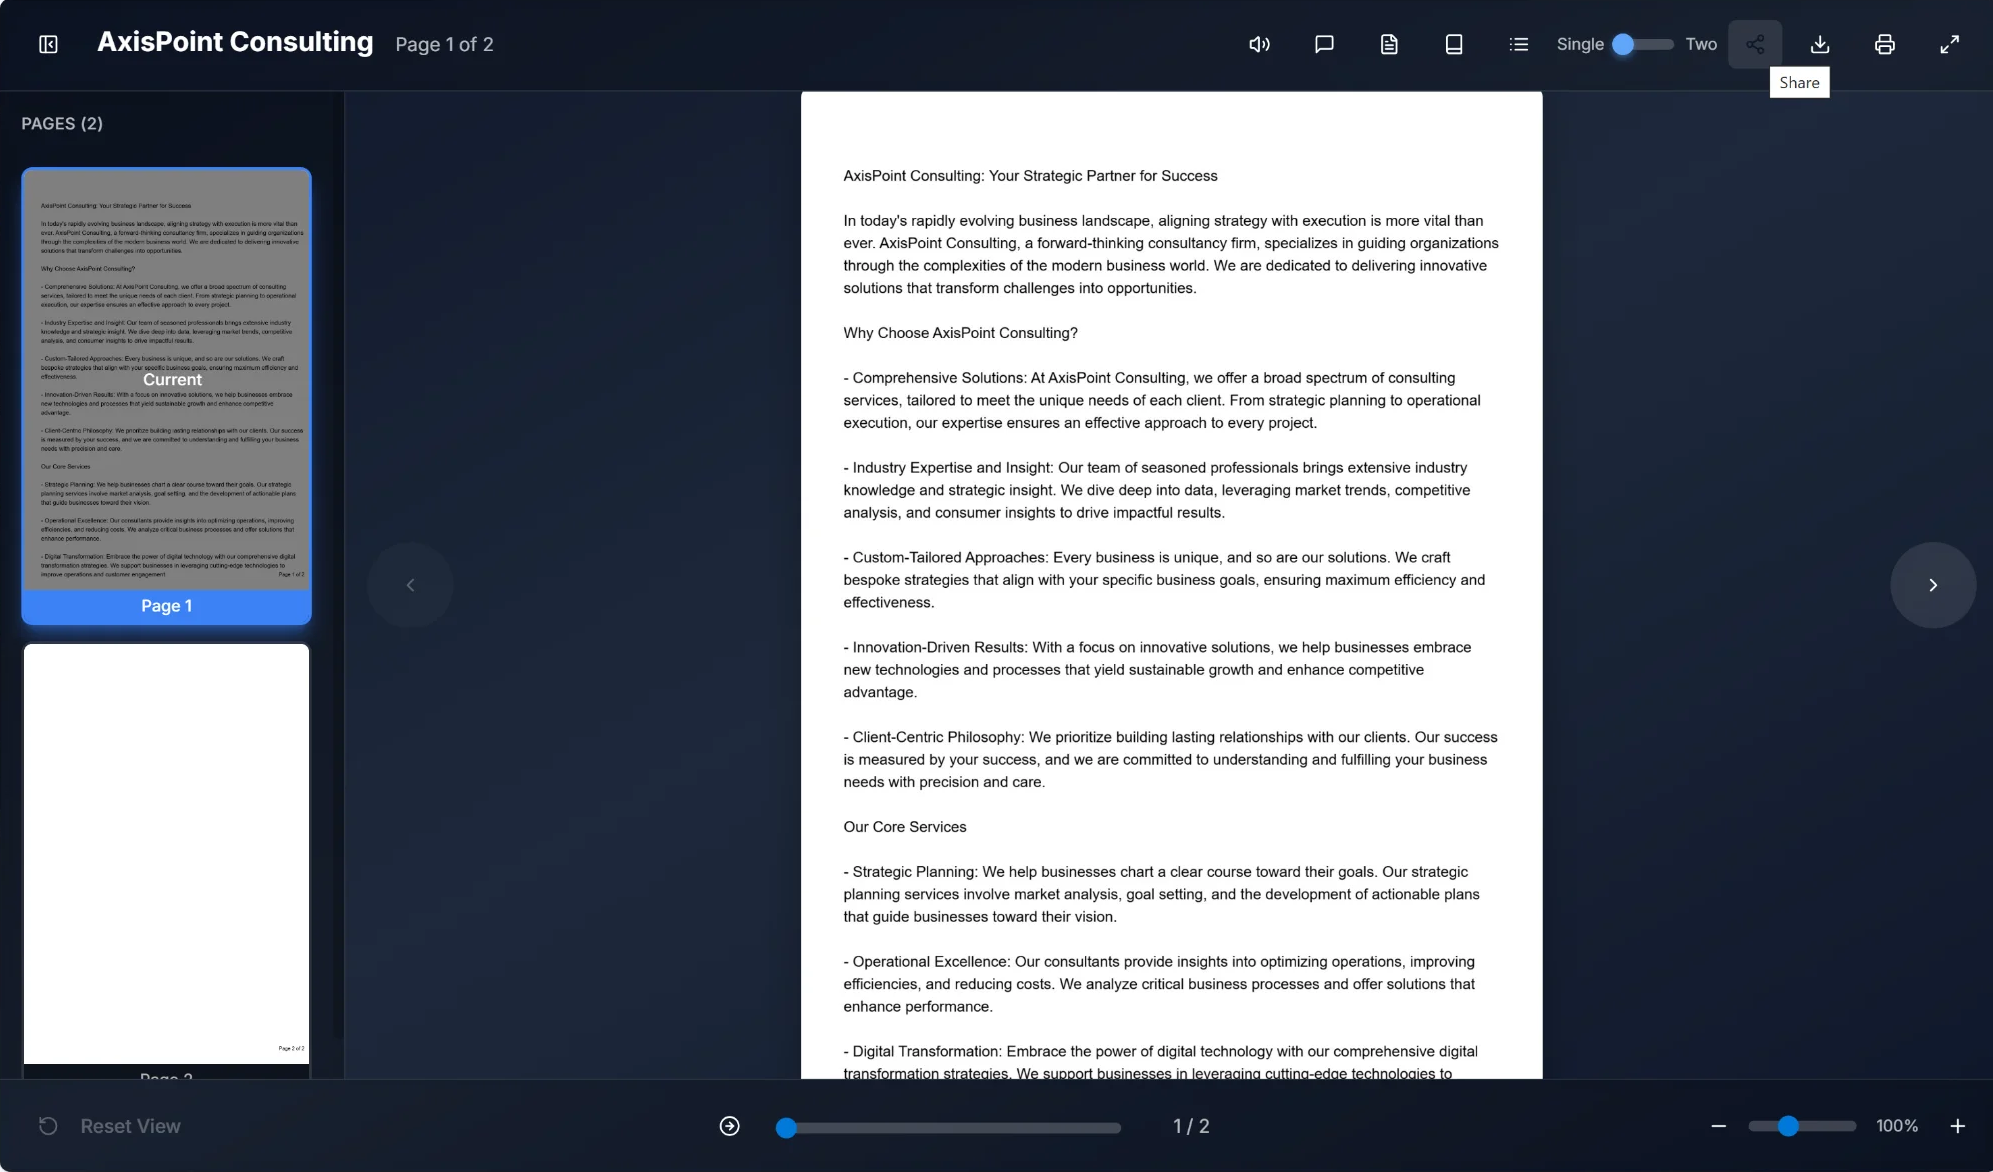
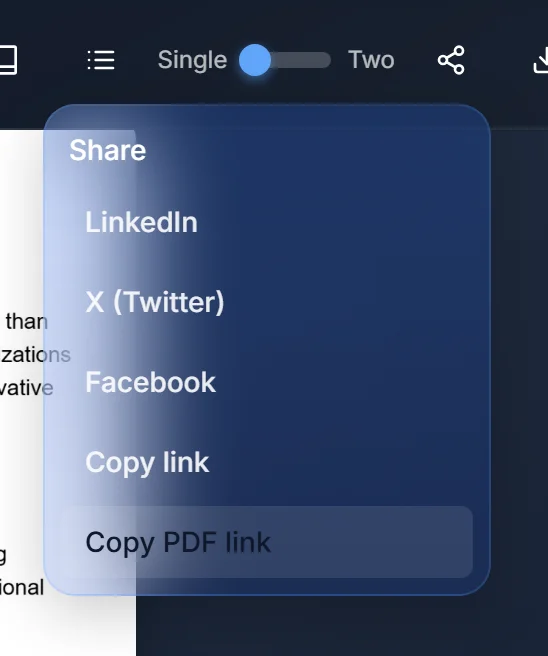
The Share feature provides multiple options for distributing the flipbook:
- LinkedIn: Share directly to your LinkedIn feed or send as a message
- X (Twitter): Post the flipbook link to your X timeline
- Facebook: Share to your Facebook wall or in Messenger
- Copy link: Copy the flipbook URL to your clipboard for manual sharing
- Copy PDF link: Copy a direct link to the PDF file for download sharing
3.3 Download Feature
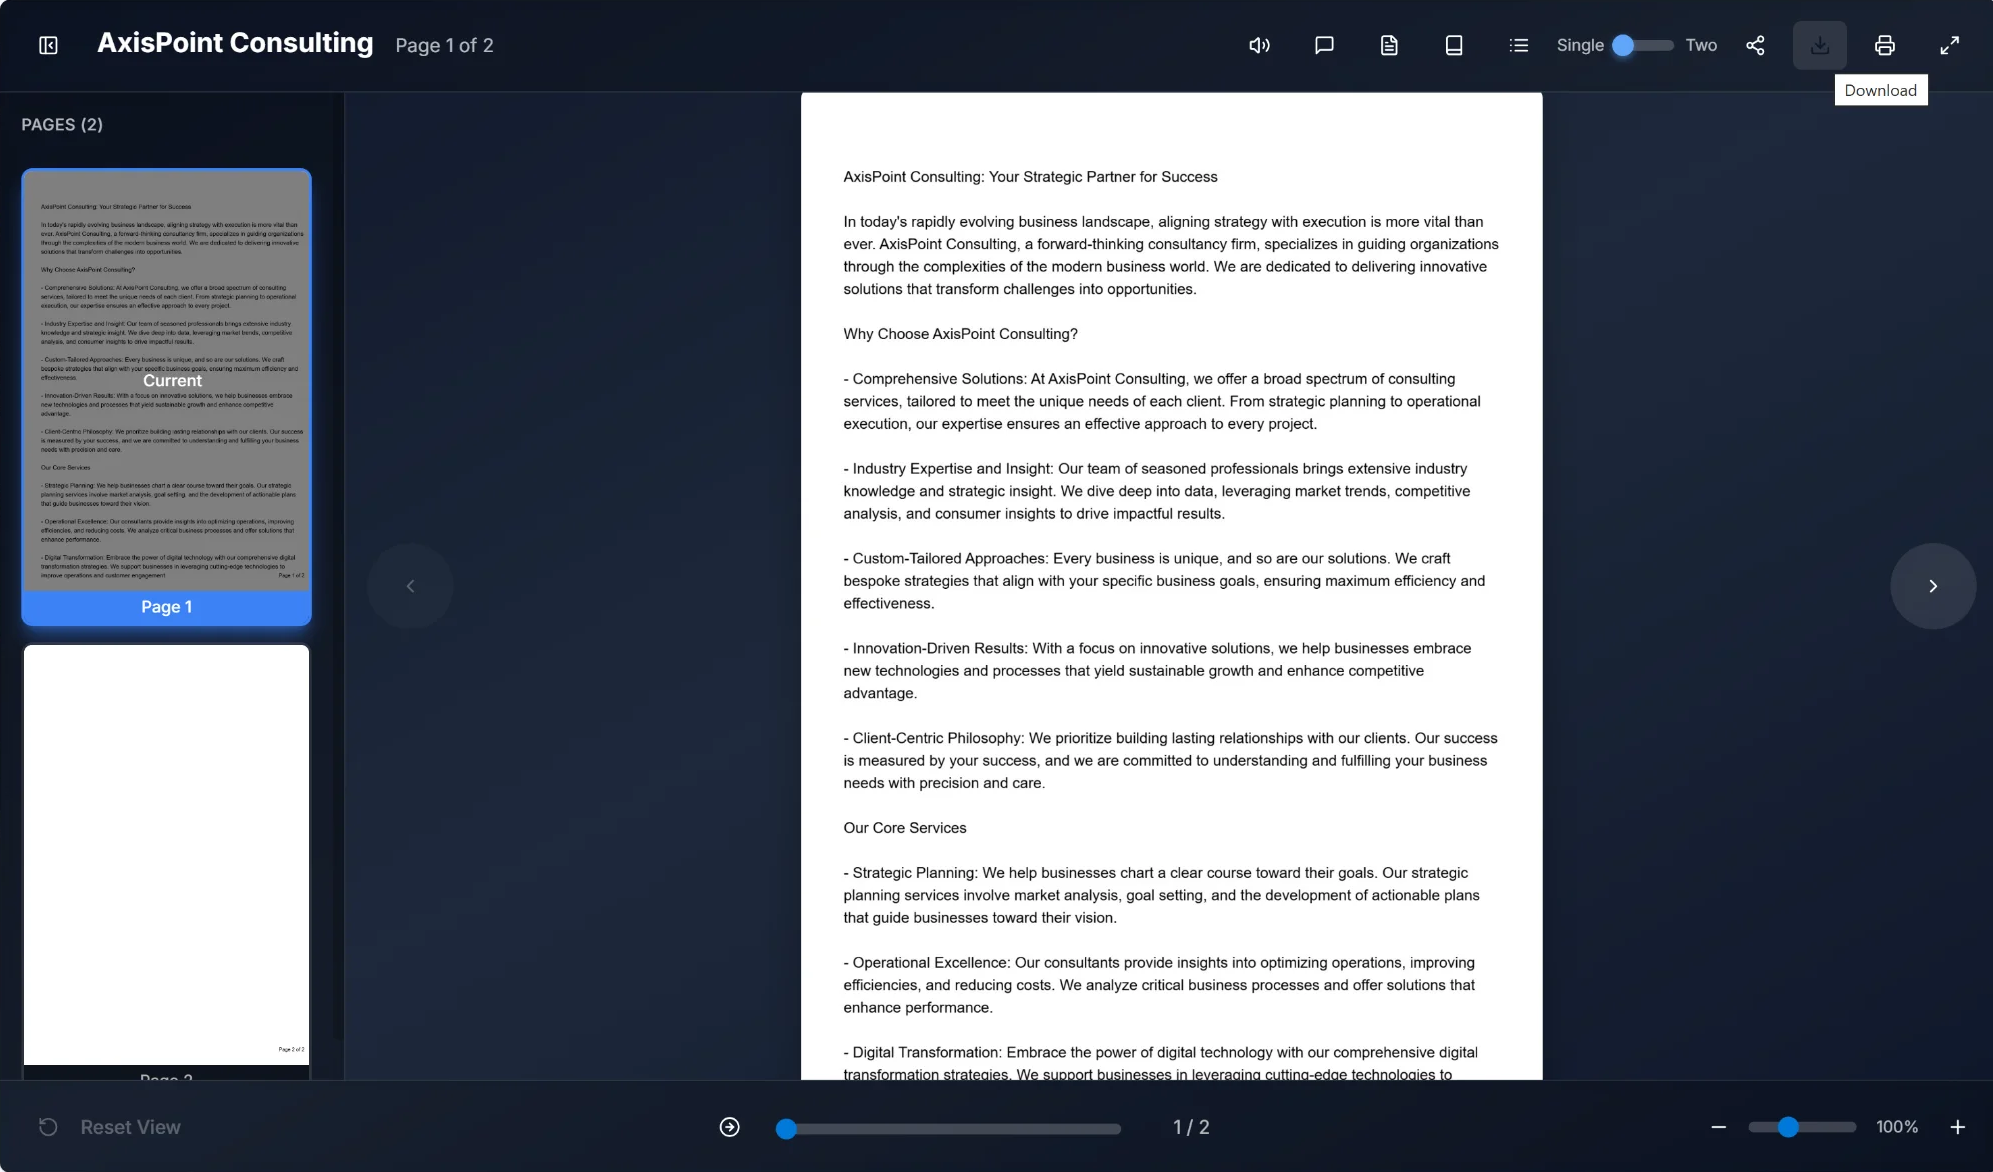
The Download button allows users to save the document file to their local device. When clicked, the browser will initiate a download of the original document file. This is useful for offline viewing or when you need to work with the document in other applications.
3.4 Print Flipbook Feature
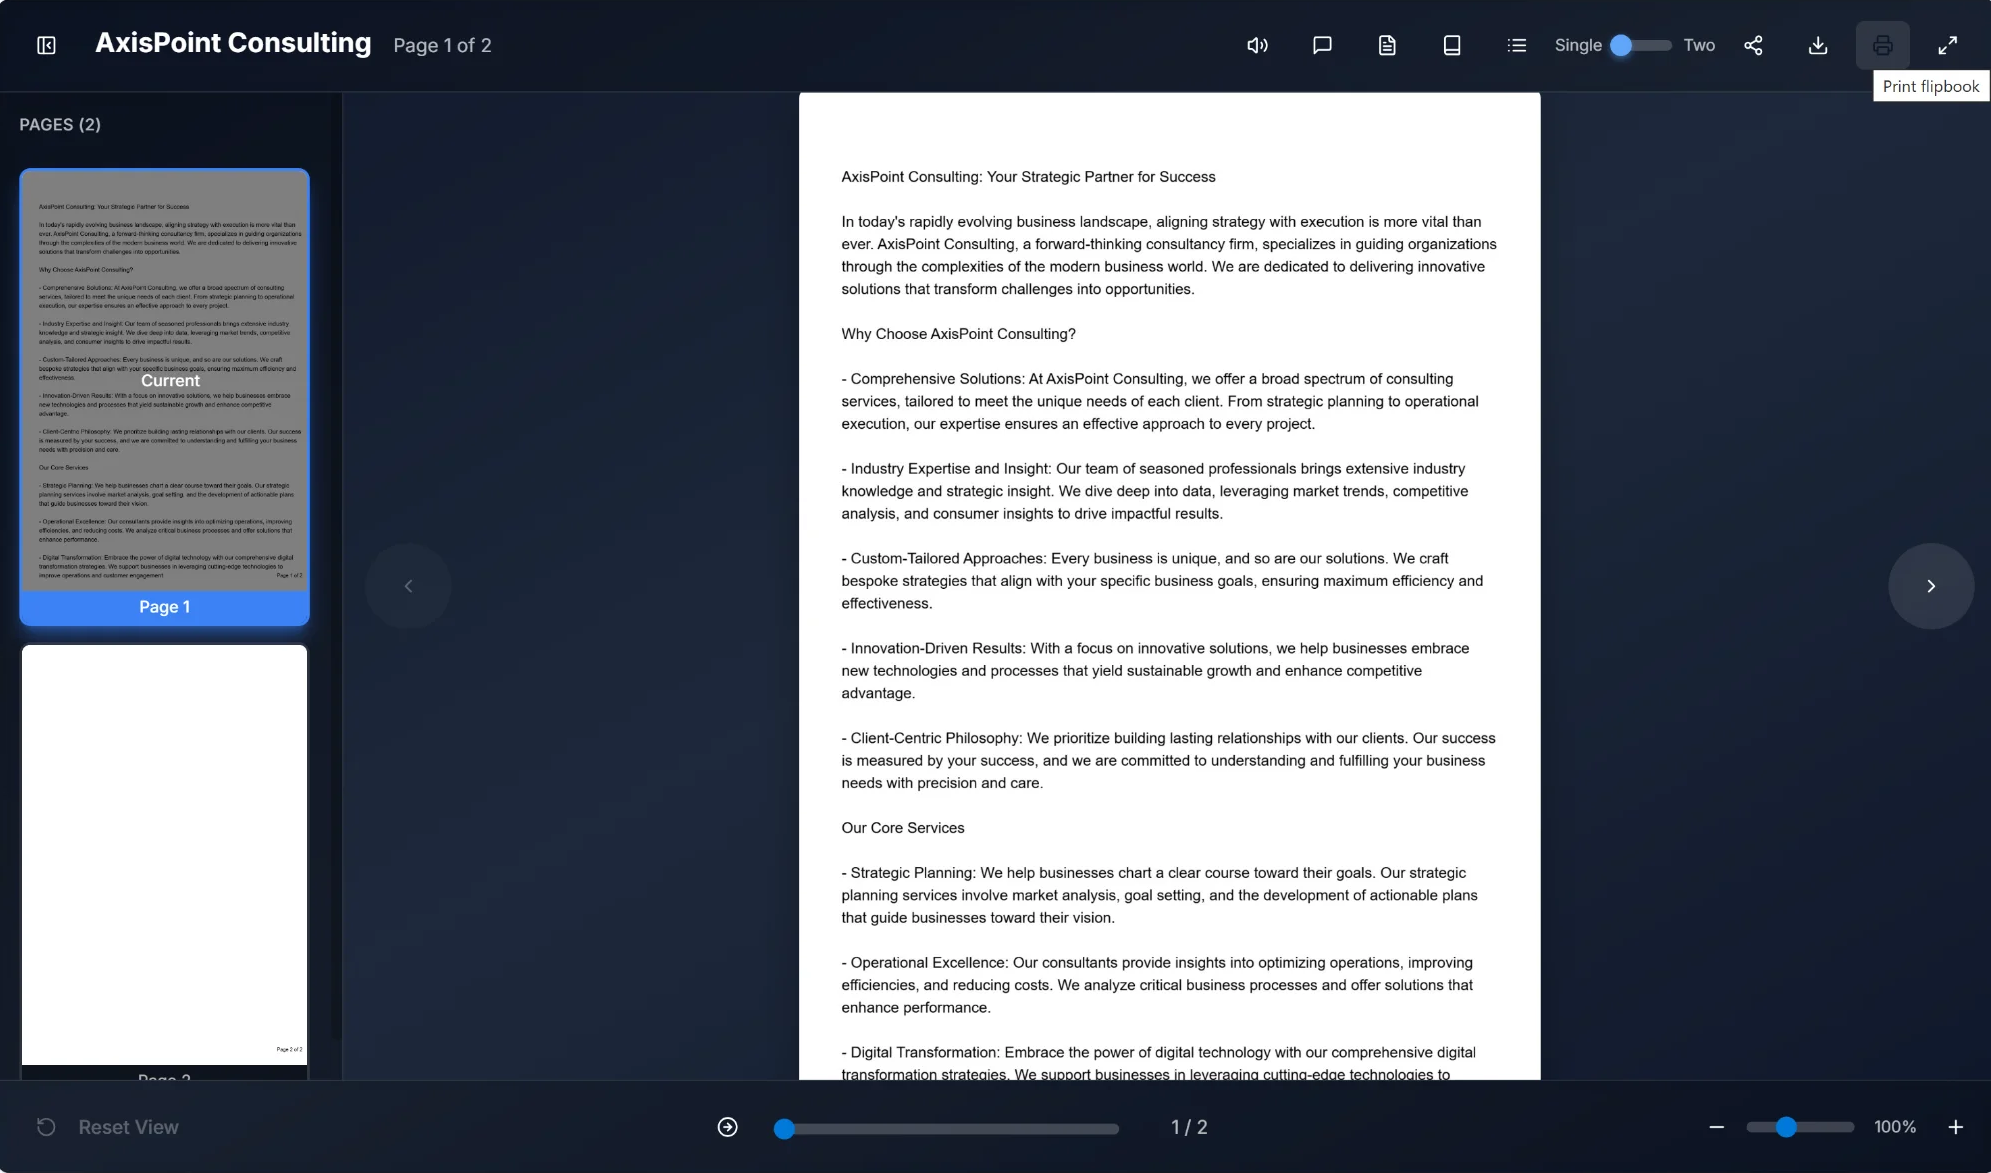
The Print Flipbook feature opens your browser's native print dialog, allowing you to print the document or save it as a PDF. You can select specific pages, adjust print settings, and choose your preferred printer or PDF output option.
3.5 Fullscreen Mode

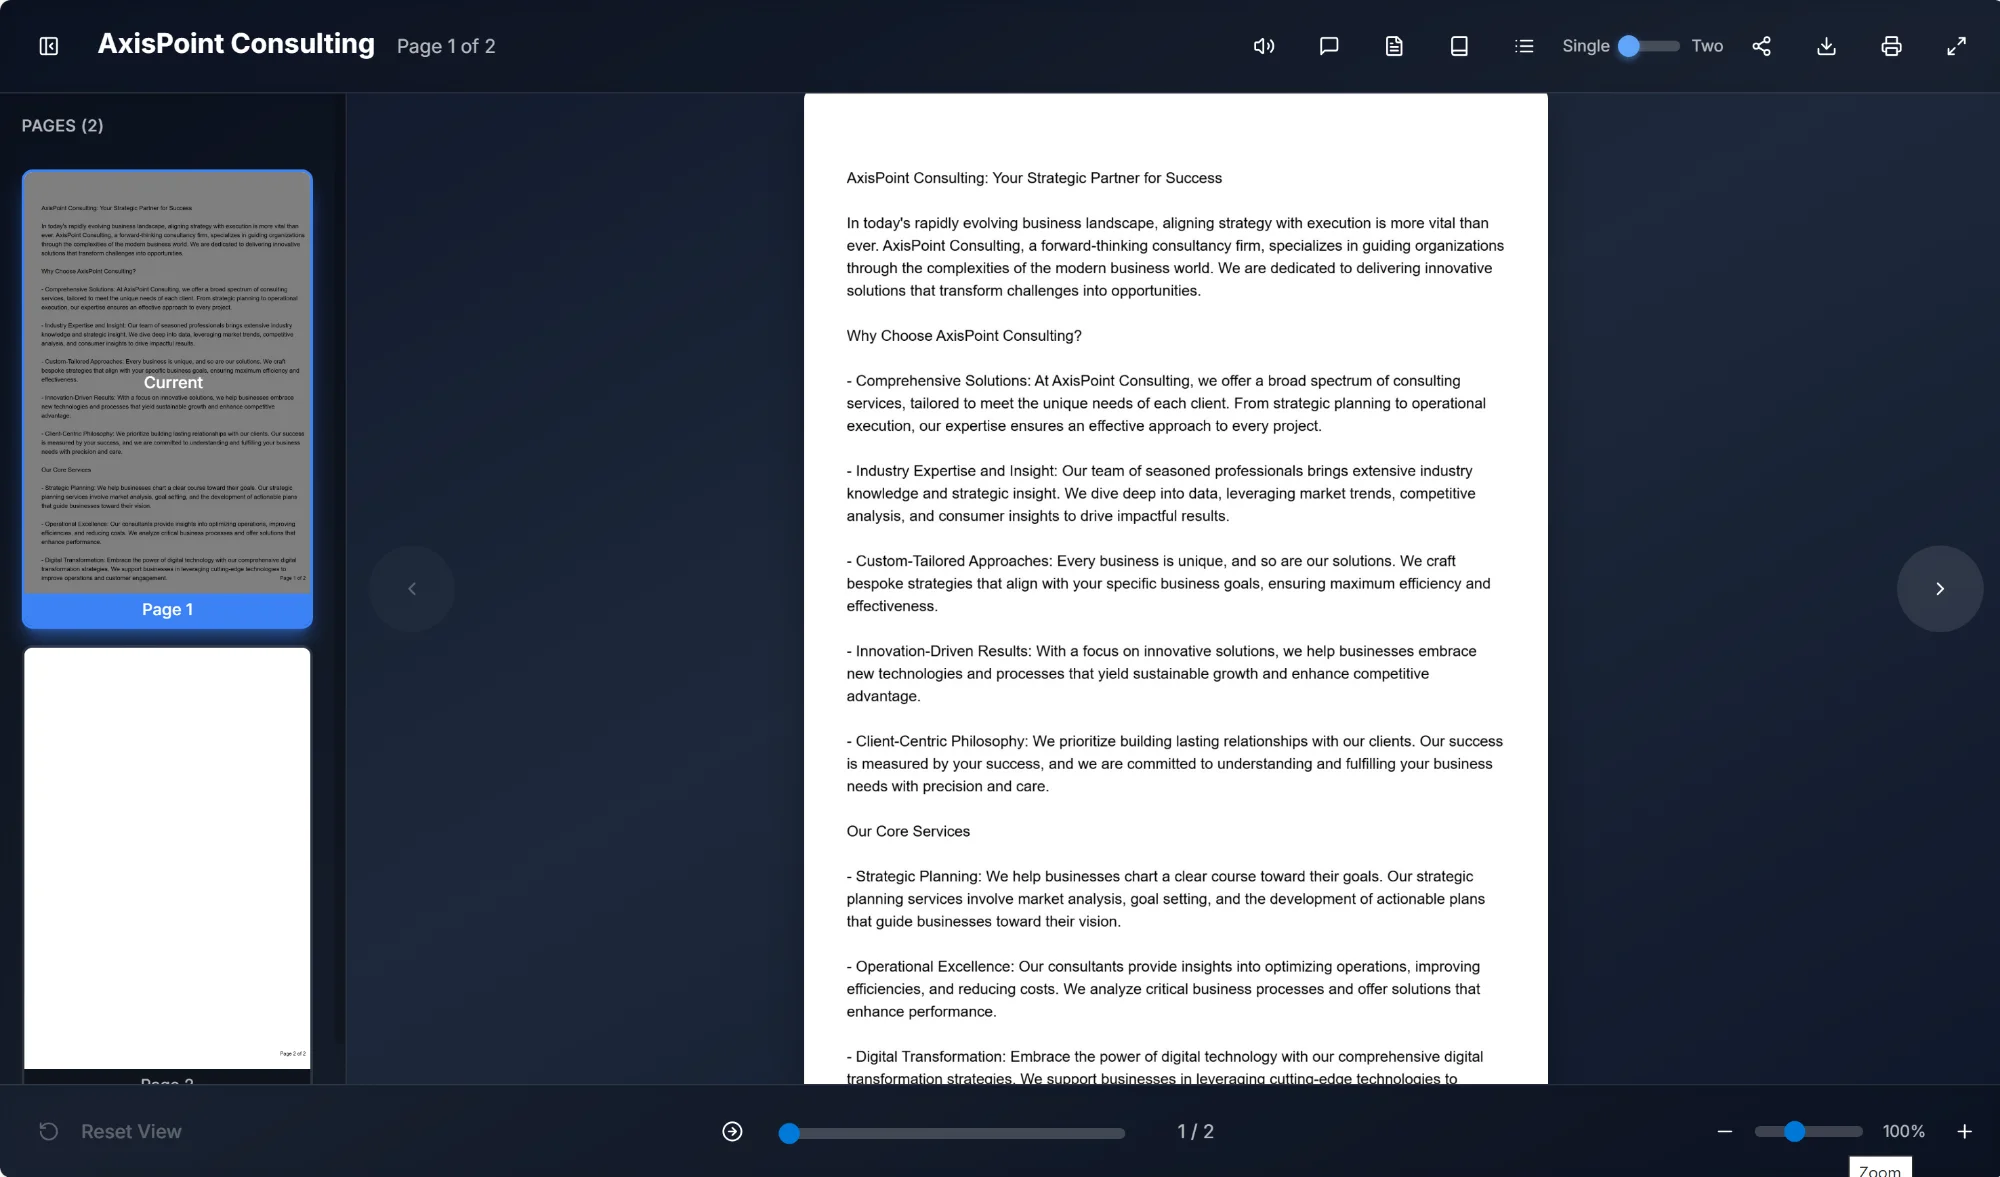
Fullscreen mode maximizes the reading experience by removing browser chrome and system UI elements. In fullscreen mode:
- The document expands to fill your entire screen
- All toolbar features remain accessible
- The page thumbnails panel is still available
- Press Escape or click the fullscreen button again to exit
- The zoom slider shows a "Zoom" tooltip at the bottom right
4. AI-Powered Features
The Flipbook Viewer includes several AI-powered features that enhance the reading experience and make document interaction more intelligent and efficient.
4.1 Text to Speech
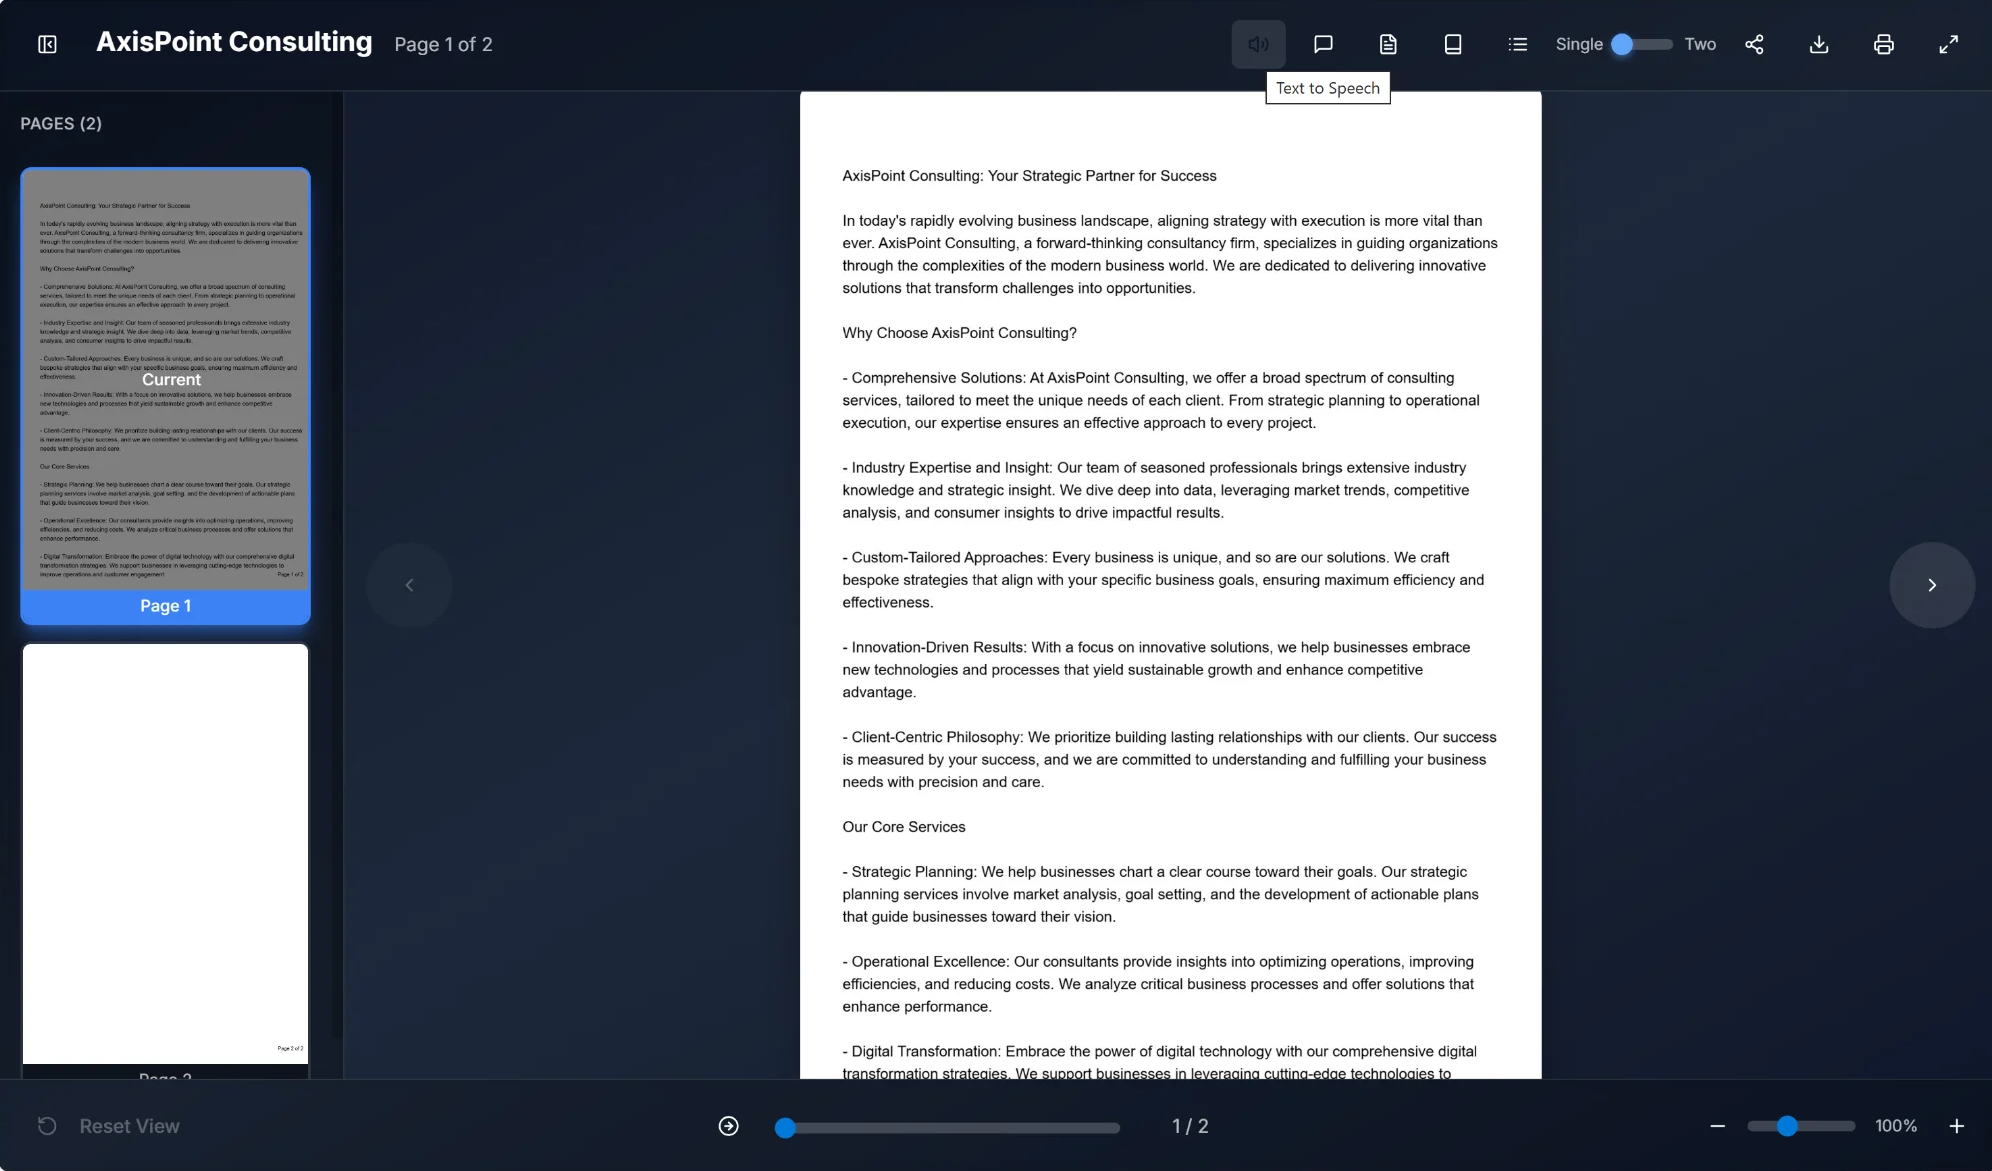
The Text to Speech feature converts document text into natural-sounding audio. This accessibility feature is particularly useful for:
- Users with visual impairments who benefit from audio content
- Multitasking scenarios where reading is not possible
- Learning and comprehension through auditory reinforcement
- Long documents where listening reduces eye strain
Cost: 10 credits per 1,000 characters (£0.10 per 1,000 chars)
4.2 Chat with Document
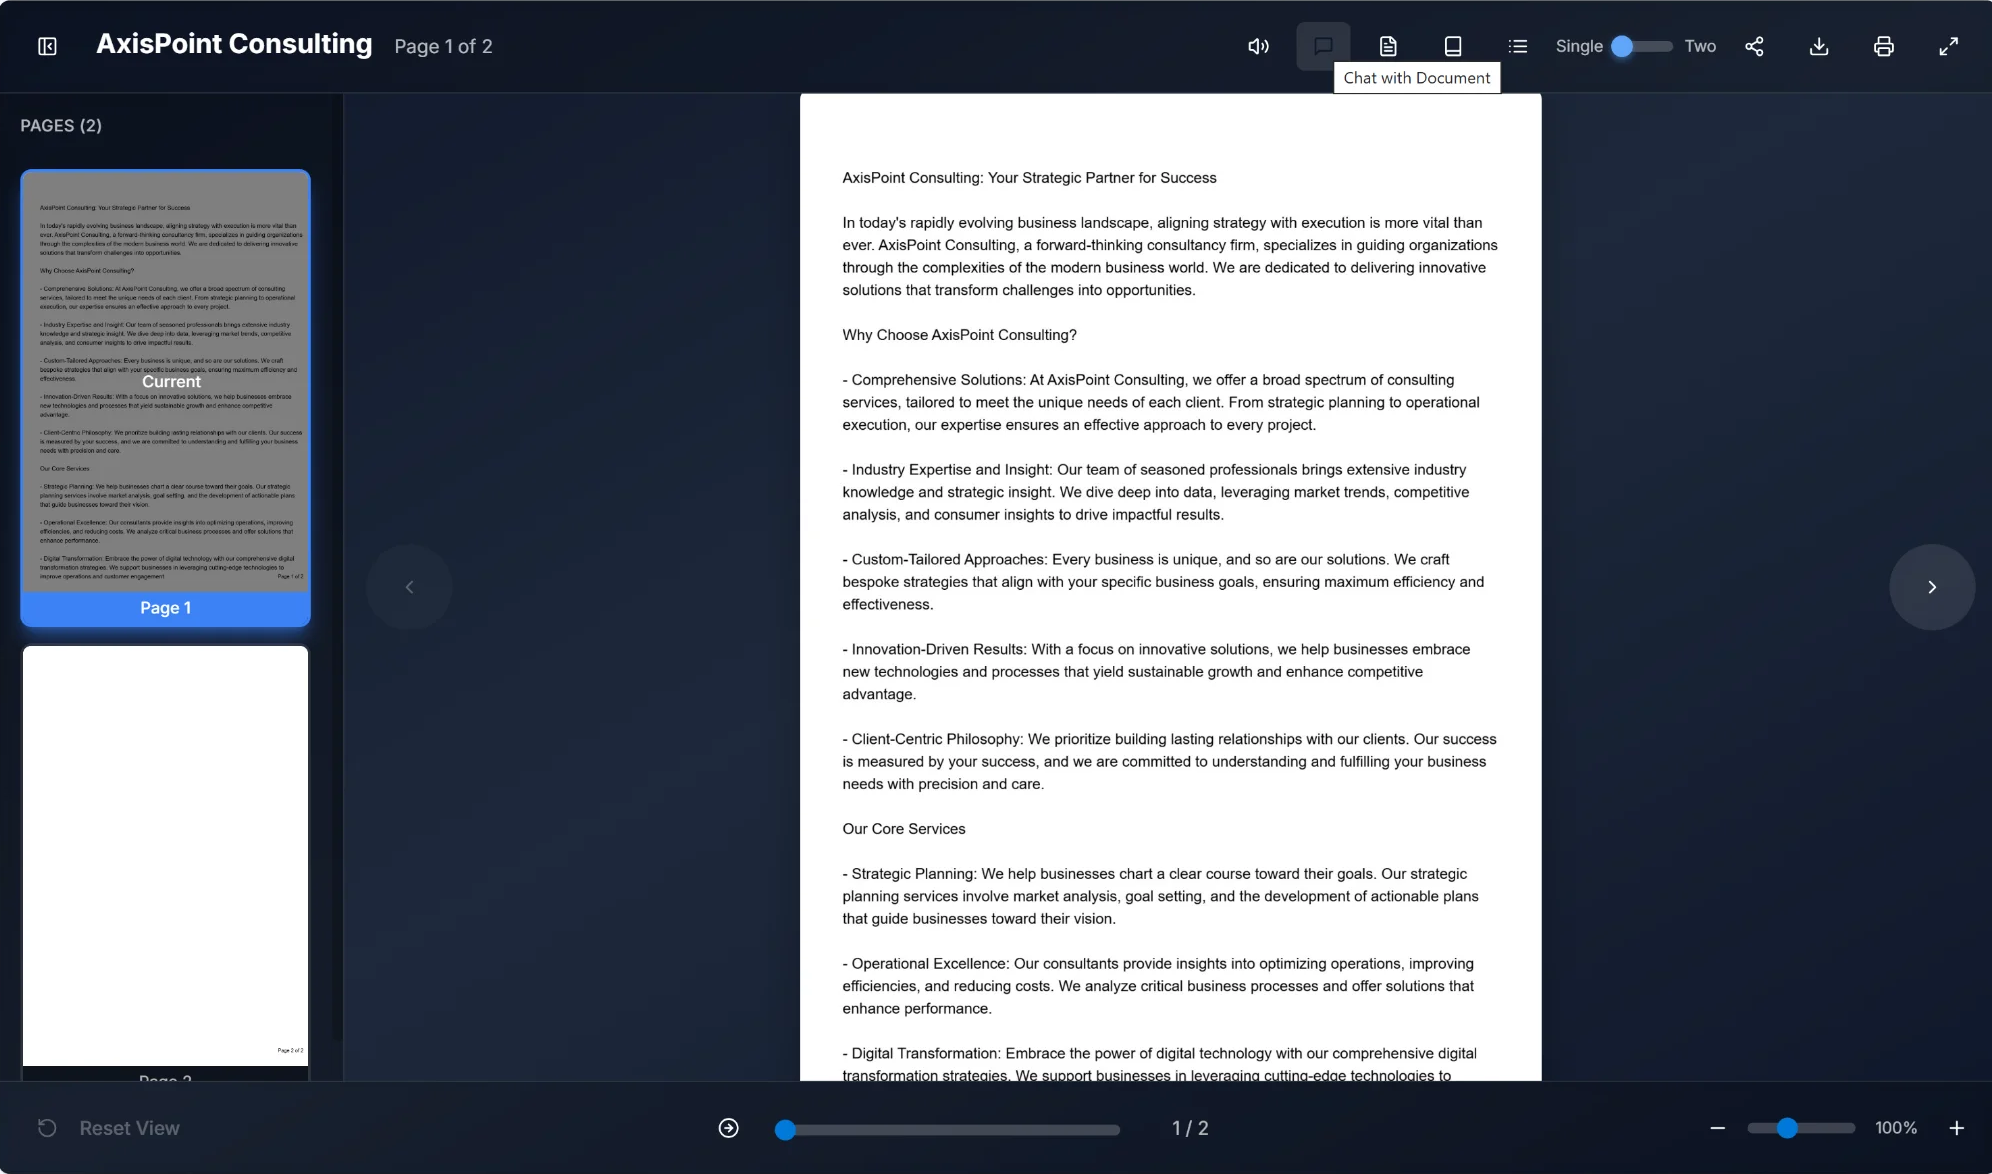
The Chat with Document feature enables conversational interaction with document content using AI technology. Users can:
- Ask specific questions about the document's content
- Request clarification on complex topics or terminology
- Extract specific information without reading the entire document
- Get instant answers based on the document's context
Cost: 10 credits per message (£0.10 per message)
4.3 Summary
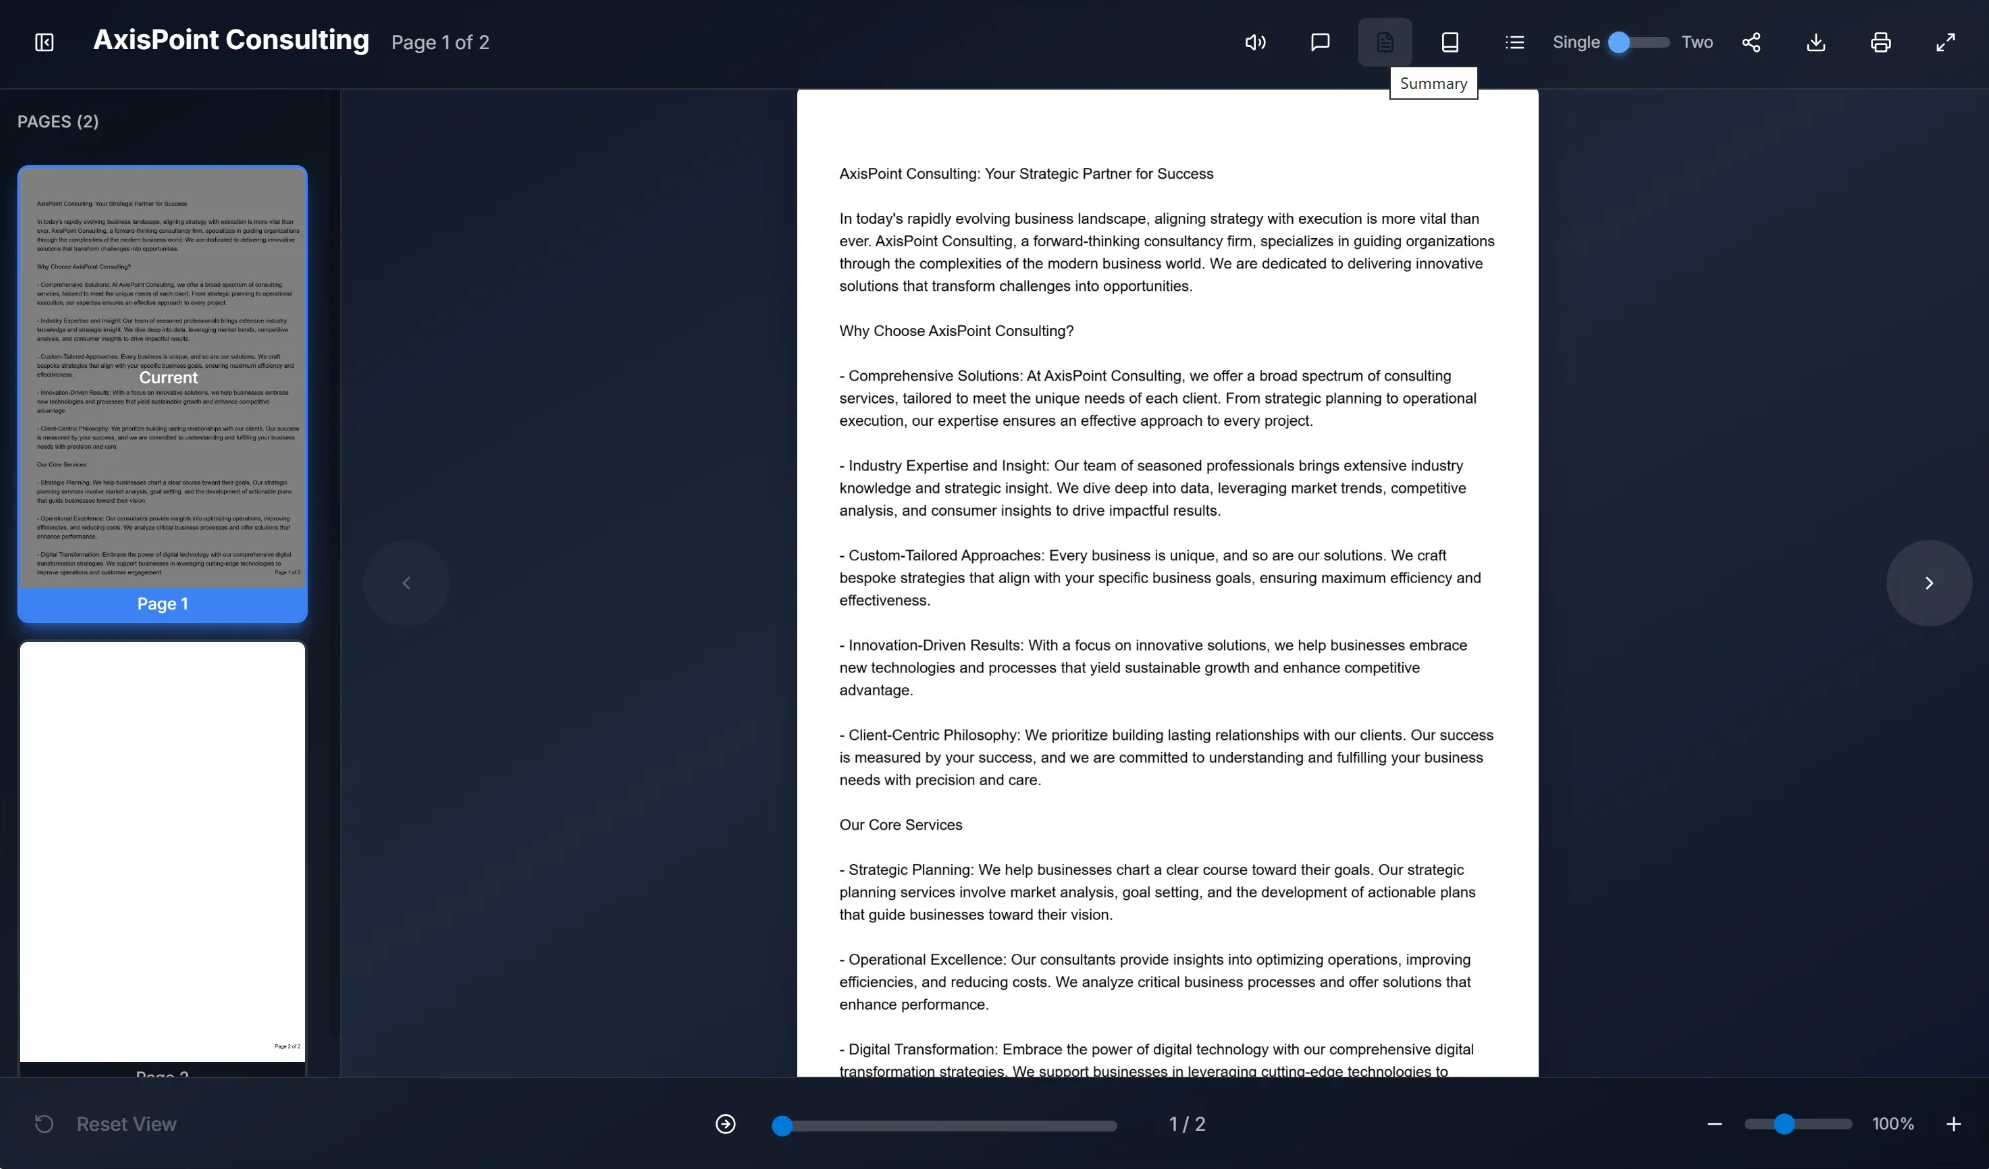
The Summary feature uses AI to analyze the document and generate a concise overview of its main points. This is ideal for:
- Quick document assessment before detailed reading
- Understanding the document's scope and key messages
- Creating meeting notes or executive briefings
- Time-efficient review of lengthy documents
Cost: 50 credits for full document summary (£0.50), 25 credits for page summary (£0.25)
4.4 Glossary
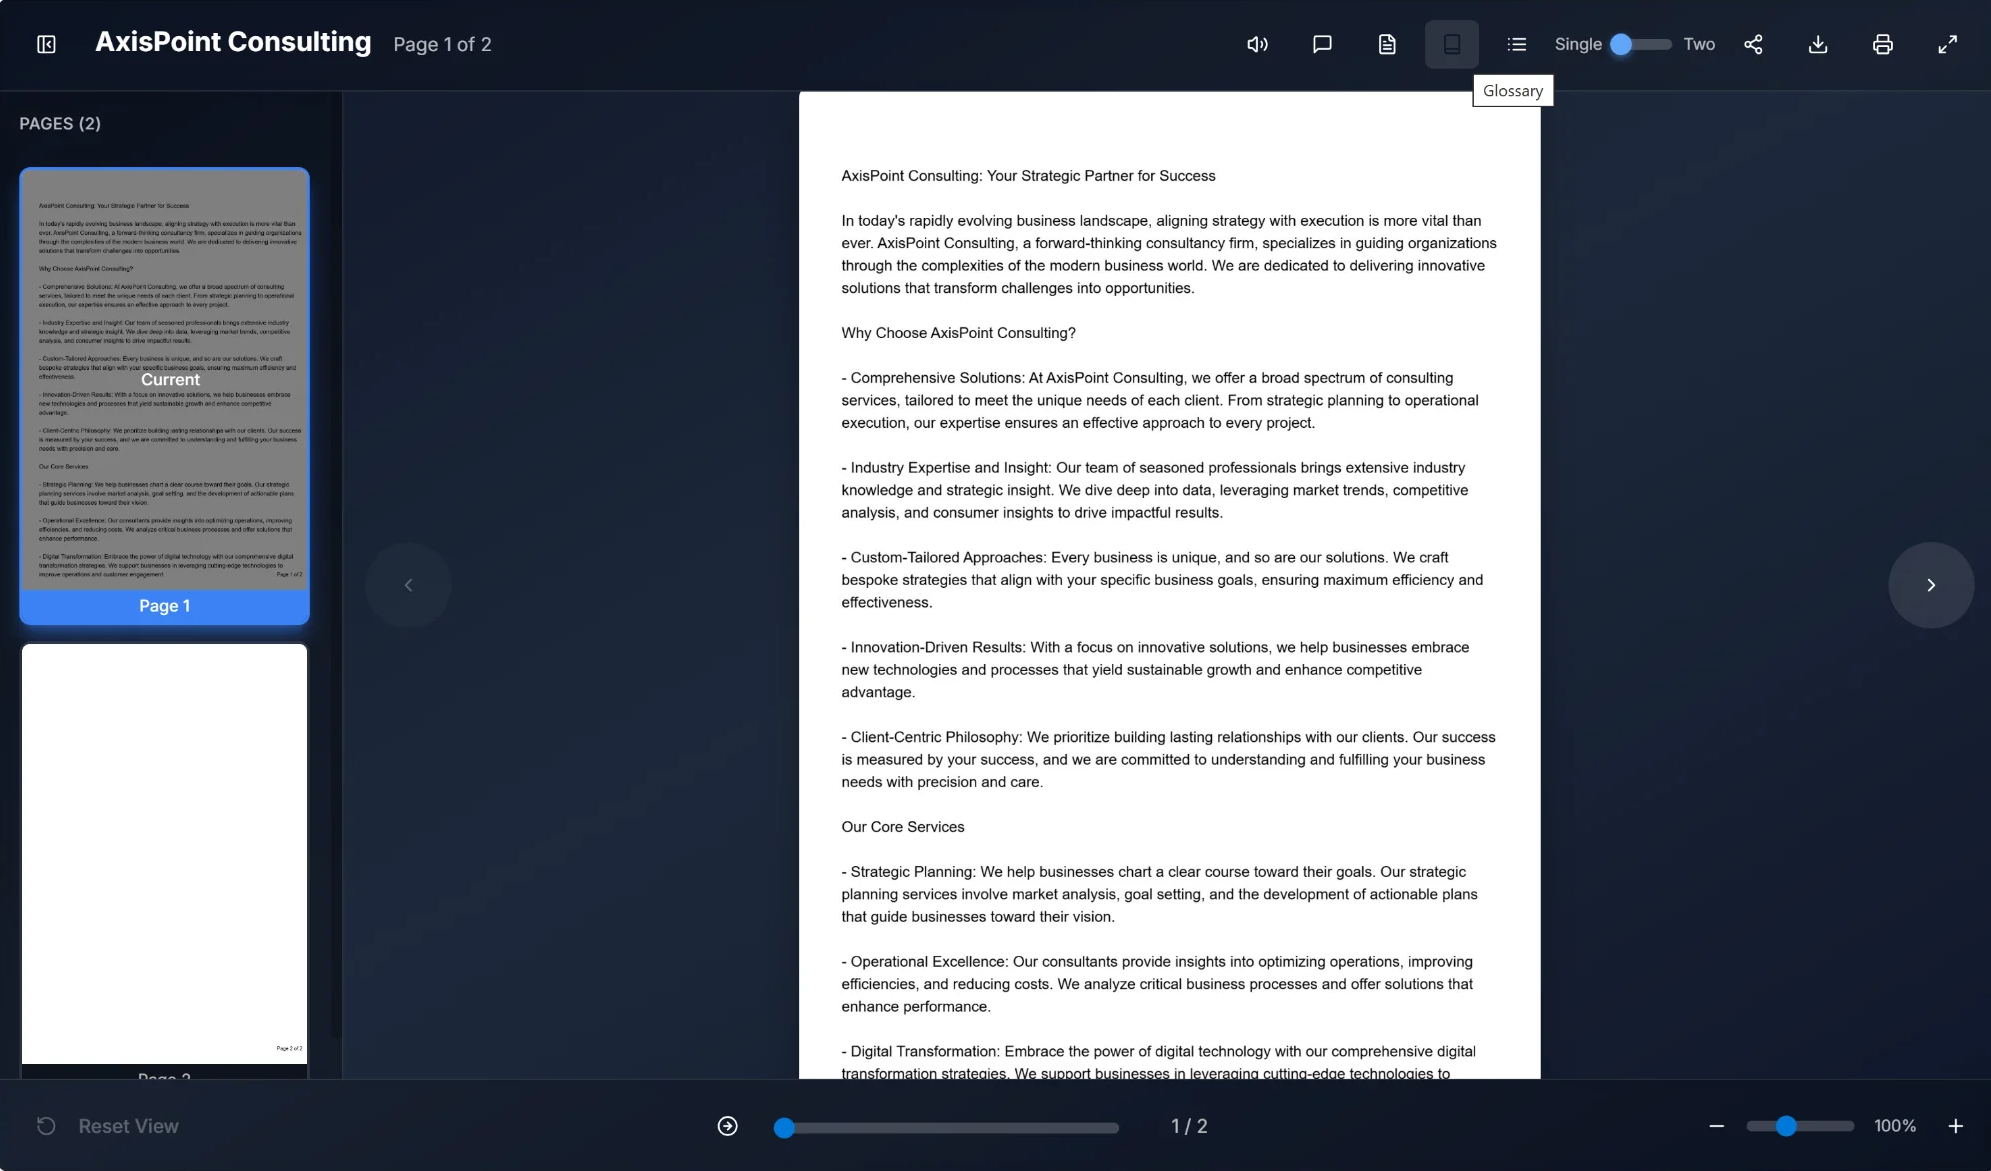
The Glossary feature automatically identifies and defines key terms, acronyms, and specialized vocabulary within the document. Benefits include:
- Quick access to definitions without external research
- Context-aware explanations based on document usage
- Enhanced comprehension for technical or specialized content
- Support for non-expert readers engaging with domain-specific material
Cost: 25 credits per glossary generation (£0.25)
4.5 FAQ Generation
The FAQ Generation feature automatically creates a comprehensive list of frequently asked questions and answers based on your document content. This helps readers:
- Quickly find answers to common questions
- Understand key concepts without reading the full document
- Get clarification on potentially confusing topics
- Improve document accessibility for all readers
Cost: 25 credits per FAQ generation (£0.25, typically generates 8-12 Q&A pairs)
4.6 Table of Contents
The Table of Contents feature uses AI to analyze your document structure and generate a navigable index with page references. Viewers can click any entry to jump directly to that section.
- Automatically identifies headings, sections, and topics
- Clickable page references for instant navigation
- Hierarchical structure preserving document organization
Cost: 20 credits per generation (£0.20)
4.7 Quiz
The Quiz feature generates interactive knowledge tests based on your document content. Viewers can test their understanding with multiple-choice questions and receive instant feedback.
- Configurable difficulty, question count, and scoring
- Optional correct answer display after completion
- Email collection for lead generation
- Viewers can optionally customise quiz parameters
Cost: 20 credits per quiz generation (£0.20)
4.8 Search
The Search feature enables viewers to find specific content within the document. Results highlight matching text and allow one-click navigation to the relevant page.
- Full-text search across all document pages
- Highlighted matches with page references
- Click any result to jump directly to that page
💡 Note: Search requires extracted page text. Text-based PDFs are indexed automatically; scanned PDFs require text extraction (5 credits per page).
4.9 AI Credits System
AI features require credits. £1 = 100 credits. This pay-as-you-go model means you only pay for the AI work you actually use. Credits never expire and always roll over. For teams who prefer predictable billing, optional monthly top-ups are available at up to 30% off. No contract, no lock-in. Pause or cancel with one click. We send a reminder 48 hours before each charge.
Credit Costs by Feature
💡 Tip: AI credits never expire and can be purchased in various packages. Visit Settings → Billing to purchase credits.
5.2 Go to Page Feature
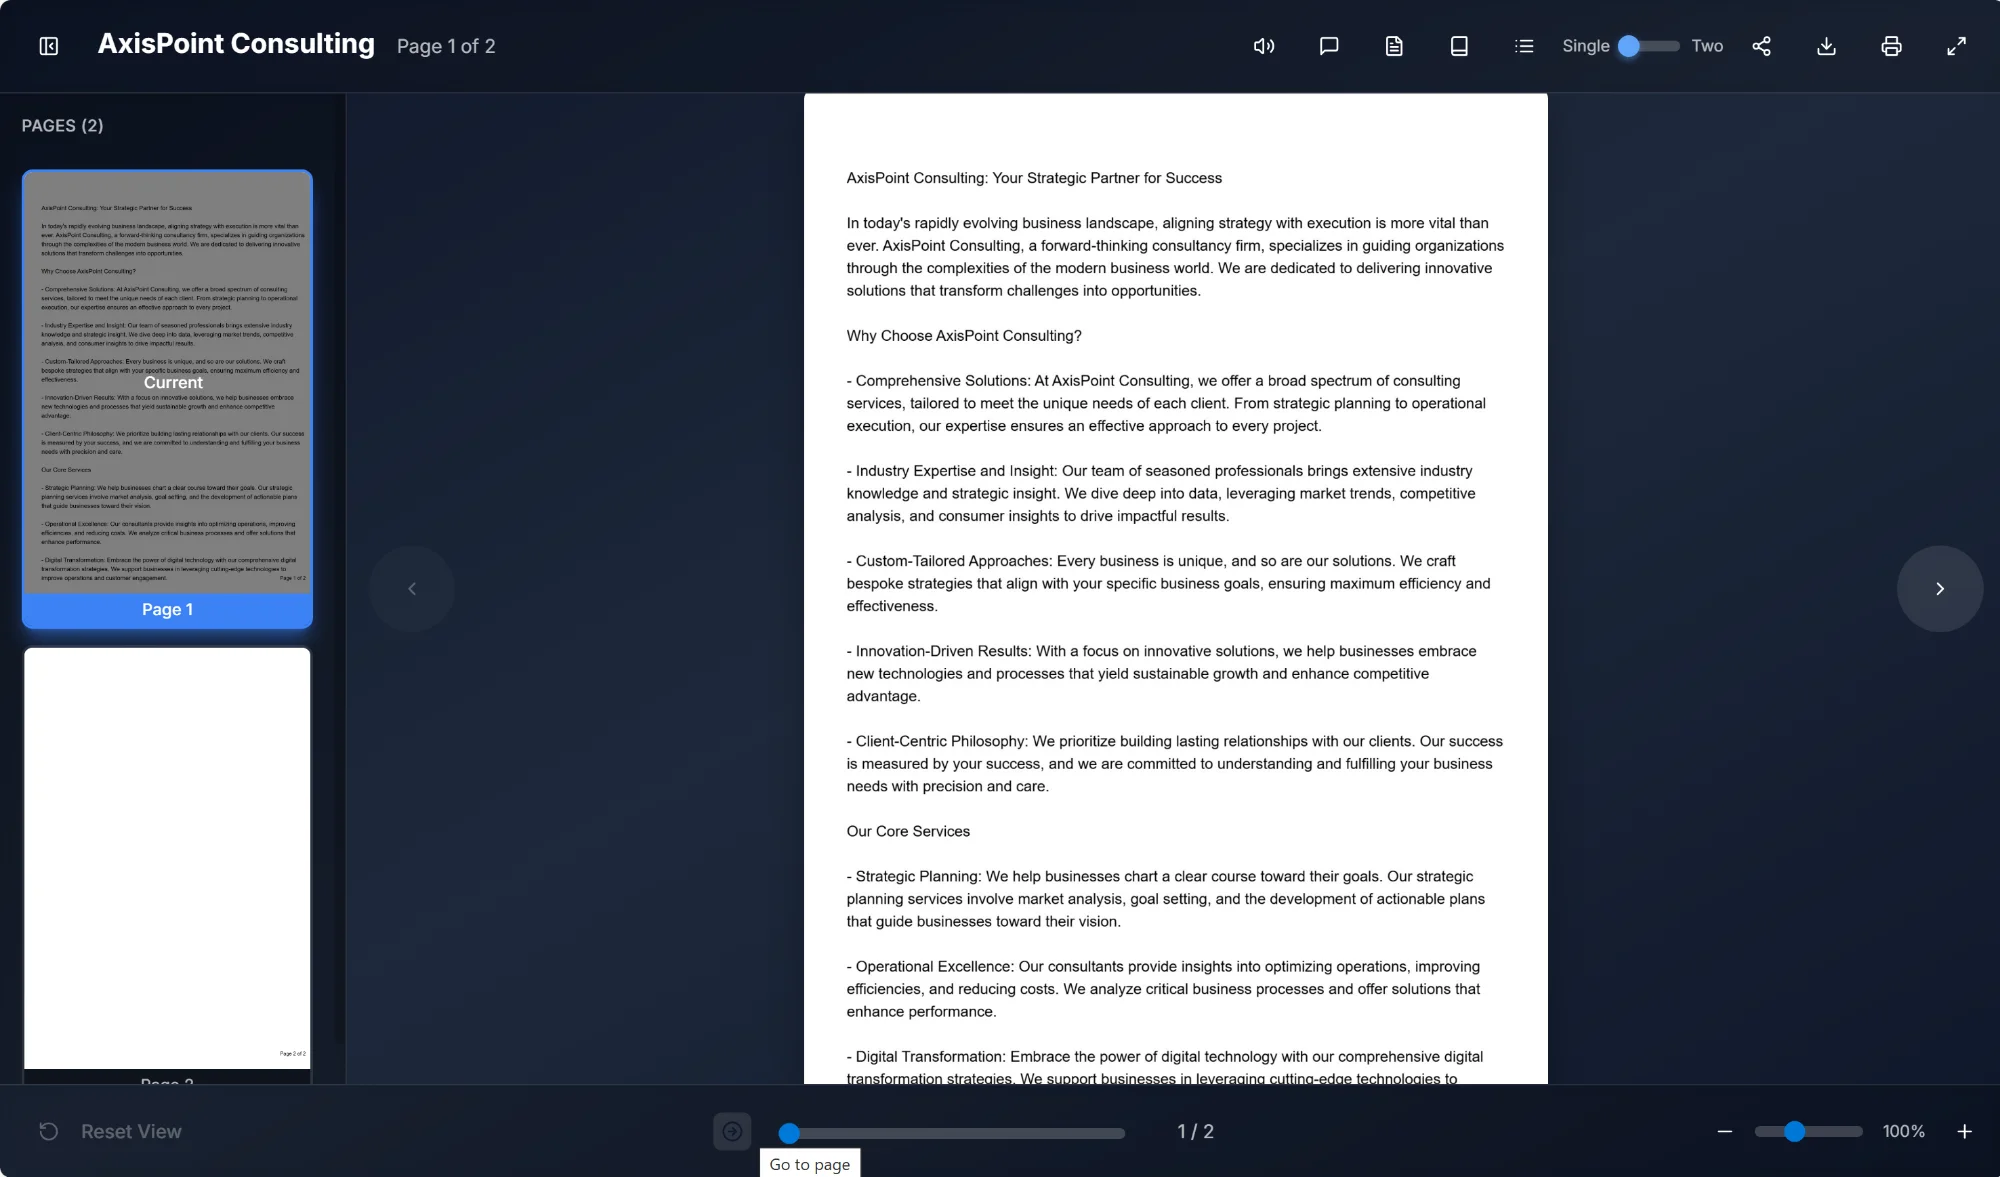
The "Go to page" button is located at the bottom of the viewer next to the progress bar. Clicking this button allows you to enter a specific page number and jump directly to that page. This is especially useful for longer documents where scrolling or clicking through pages would be time-consuming.
5.3 View Modes
The viewer supports two distinct viewing modes accessible via the toggle switch in the toolbar:
Single Page View
Displays one page at a time, maximizing readability on smaller screens or for detailed examination. The toggle shows "Single" when this mode is active.
Two-Page Spread
Shows two adjacent pages side by side, simulating the experience of reading a physical book or magazine. The toggle shows "Two" when this mode is active.
5.4 Zoom Controls
Located in the bottom-right corner, zoom controls allow you to adjust the document magnification:
- Zoom In (+): Increases magnification for detailed viewing
- Zoom Out (-): Decreases magnification for overview
- Zoom Slider: Drag the slider to adjust zoom level smoothly
- Zoom Percentage: Displays current zoom level (e.g., "100%")
- Reset View: Located at the bottom left, returns to the default zoom level and position
6. Technical Specifications
6.1 Supported Browsers
The Flipbook Viewer is optimized for modern web browsers:
- Google Chrome (version 90+)
- Mozilla Firefox (version 88+)
- Microsoft Edge (version 90+)
- Safari (version 14+)
- Opera (version 76+)
6.2 Device Compatibility
The viewer is fully responsive and works across:
Desktop computers
Full feature set with keyboard shortcuts
Tablets
Touch-optimized navigation with gesture support
Mobile devices
Streamlined interface with swipe navigation
6.3 Document Format Support
The Flipbook Viewer can display documents converted from:
- PDF files (.pdf)
- Microsoft Word documents (.docx, .doc)
- PowerPoint presentations (.pptx, .ppt)
- Image collections (.jpg, .png)
7. Keyboard Shortcuts
The following keyboard shortcuts enhance navigation efficiency:
| Shortcut | Action |
|---|---|
| ← (Left Arrow) | Previous page |
| → (Right Arrow) | Next page |
| Home | Go to first page |
| End | Go to last page |
| + (Plus) | Zoom in |
| - (Minus) | Zoom out |
| F or F11 | Toggle fullscreen |
| Esc | Exit fullscreen |
8. Accessibility Features
The Flipbook Viewer is designed with accessibility in mind, incorporating features that ensure all users can effectively interact with document content.
- Screen Reader Compatibility: Full support for popular screen readers including NVDA, JAWS, and VoiceOver
- Text to Speech: Built-in audio narration for document content
- Keyboard Navigation: Complete keyboard accessibility for all features
- High Contrast Mode: Compatible with system high contrast settings
- Focus Indicators: Clear visual focus states for keyboard users
- Tooltips: All toolbar buttons display descriptive tooltips on hover
9. Pricing
Build Any Flipbook has no subscription plans. The entire platform is free for every user. You only pay when you want AI to work on your documents, using credits. £1 = 100 Credits. Credits never expire.
Every feature is included at no cost. No watermarks, no flipbook limits, no feature gates.
- Unlimited flipbooks
- No watermarks
- Hot Zones, Back-Story, Next Actions, Test Your Knowledge
- White Label Designer
- Materials Library, Contact/Subscribe forms, Google Maps
- Analytics, embedding, sharing, custom CTA
- 2 GB storage to start
- 500 free AI Credits on signup
Purchase credits to power AI features. Available in packages from £5 to £500, or contact us for enterprise volumes.
- 500 credits for £5
- 2,000 credits for £20
- 5,000 credits for £50
- 20,000 credits for £200
- 50,000 credits for £500
- Credits never expire
Storage increases automatically based on your total credit purchases. It never decreases.
- 2 GB free to start
- 5 GB at £20 spent
- 10 GB at £50 spent
- 25 GB at £200 spent
- 50 GB at £500+ spent
When you join a team, all AI usage draws from the workspace credit pool managed by the team owner.
- All team members share the workspace credit pool
- Personal credits are paused (not deleted) while on a team
- Personal credits resume if you leave the team
- Only the workspace owner can purchase credits
- Every AI action is logged with the team member's name
For organisations that need enterprise-grade features.
- AI Avatar Videos
- Multi-language Flipbooks
- Custom Domain Mapping (docs.yourbrand.com)
- Digital Signatures
- Priority Google Indexing
- Priority Support
- 100 GB+ Storage
9.1 AI Credit Costs
| AI Feature | Credits per action | Approximate cost (GBP) |
|---|---|---|
| AI Chat (standard) | 10 credits | £0.10 |
| AI Chat (advanced) | 20 credits | £0.20 |
| Page Summary | 25 credits | £0.25 |
| Full Summary | 50 credits | £0.50 |
| Glossary | 25 credits | £0.25 |
| FAQ Generation | 25 credits | £0.25 |
| Table of Contents | 20 credits | £0.20 |
| Key Points | 50 credits | £0.50 |
| AI Quiz | 20 credits | £0.20 |
| Text-to-Speech | 10 credits / 1,000 chars | £0.10 / 1,000 chars |
| Grammar Check | 10 credits | £0.10 |
| Page Caption | 5 credits | £0.05 |
| Text Extraction (scanned PDFs) | 5 credits / page | £0.05 / page |
| AI OCR (re-scan page) | 5 credits / page | £0.05 / page |
| Collection Chat | 100 credits / message | £1.00 |
| Avatar Video | 250 credits | £2.50 |
Text Extraction
- Text-based PDFs: Free. We read the text layer directly from your document.
- Image-based / scanned PDFs: 5 credits per page. We use AI to read the text from page images. Common with Canva designs, scanned documents, and image exports.
- All PDFs get free thumbnail generation regardless.
- You can retry text extraction anytime from edit mode.
- You will always be notified when credits are being used for text extraction.
Note: When credits run out, AI features pause but everything else continues working normally. Top up any time to resume. Credits never expire.
10. Troubleshooting
Common issues and their solutions:
Document not loading
Ensure you have a stable internet connection. Try refreshing the page or clearing your browser cache. If the issue persists, the document may be temporarily unavailable.
Text to Speech not working
Check that your browser supports the Web Speech API. Ensure your device's audio is not muted. Some browsers may require user interaction before playing audio.
AI features unavailable
AI features require an active internet connection and sufficient AI credits. If features are grayed out, the document may not be processed for AI interaction yet, or service may be temporarily unavailable. Check your credit balance in Settings → Billing.
Pages appear blurry
Use the zoom controls to increase magnification. If pages remain blurry, the source document may have been uploaded at low resolution.
Fullscreen mode not working
Some browsers require user interaction (like a click) before allowing fullscreen. Try clicking the fullscreen button directly. If using keyboard shortcuts, ensure the flipbook has focus.
Share options not appearing
Ensure pop-up blockers are disabled for the site. The share menu should appear when clicking the share button. If social sharing fails, check that you're logged into the respective platform.
11. Dashboard & Management
The dashboard is your central hub for managing all your flipbooks. It provides upload capabilities, overview statistics, and quick access to every flipbook management tool.
Key Dashboard Features
- Gradient upload dropzone — drag and drop a PDF or click to browse
- Stats overview — flipbook count, total views, AI credits, and storage usage with animated count-up
- Unified filter pill — filter by All/Private/Team, search by name, and sort by date in one control
- Grid & list views — switch between card grid and compact list layouts
- Full-screen drag-and-drop — drag a PDF anywhere on screen to upload
11.1 Uploading a Flipbook
There are two ways to upload a PDF and create a flipbook:
- Upload dropzone: Click the gradient upload area at the top of the dashboard, or click the "Browse Files" button within it.
- Drag and drop: Drag a PDF file anywhere on the screen. A full-screen overlay will appear confirming the drop zone. Release to upload.
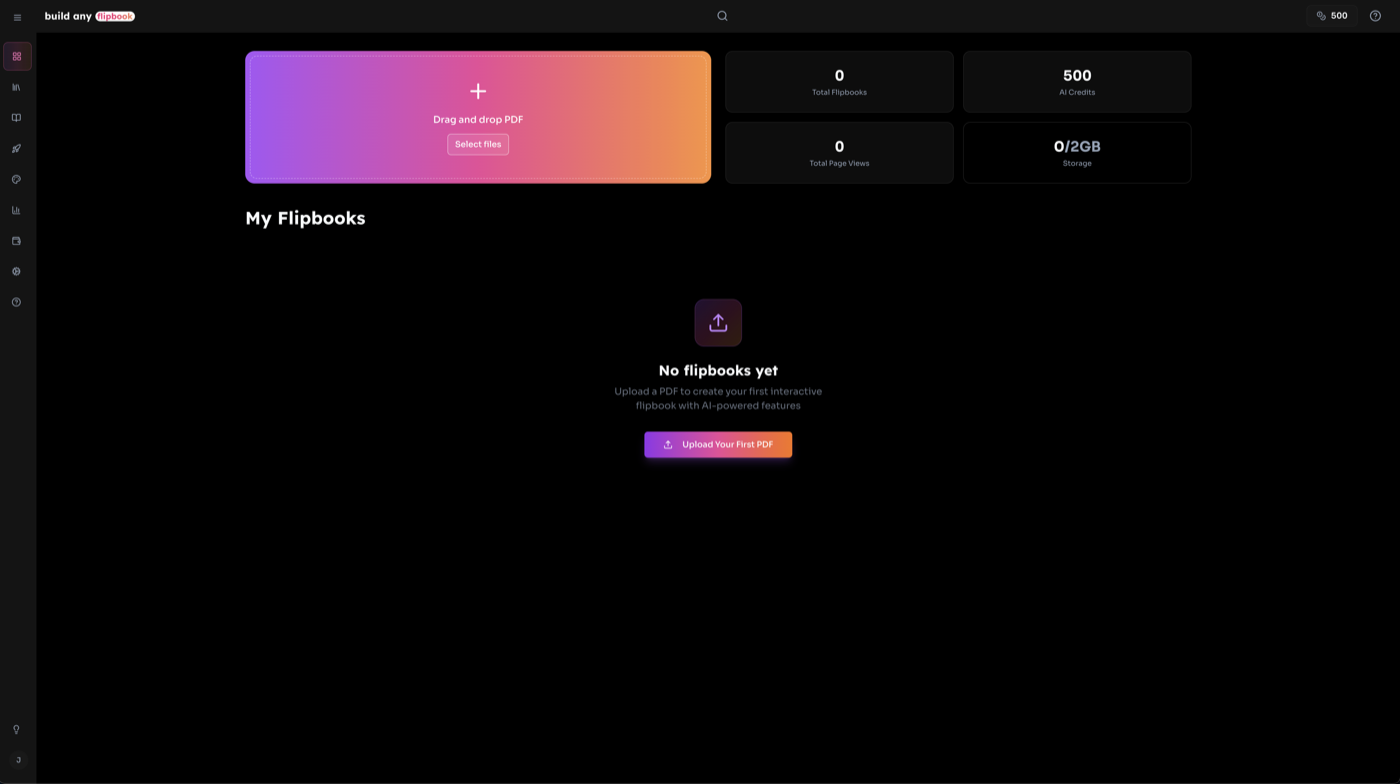
💡 Tip: Text-based PDFs are processed for free. Scanned or image-based PDFs (like Canva exports) require AI text extraction at 5 credits per page.
11.2 Flipbook Detail View
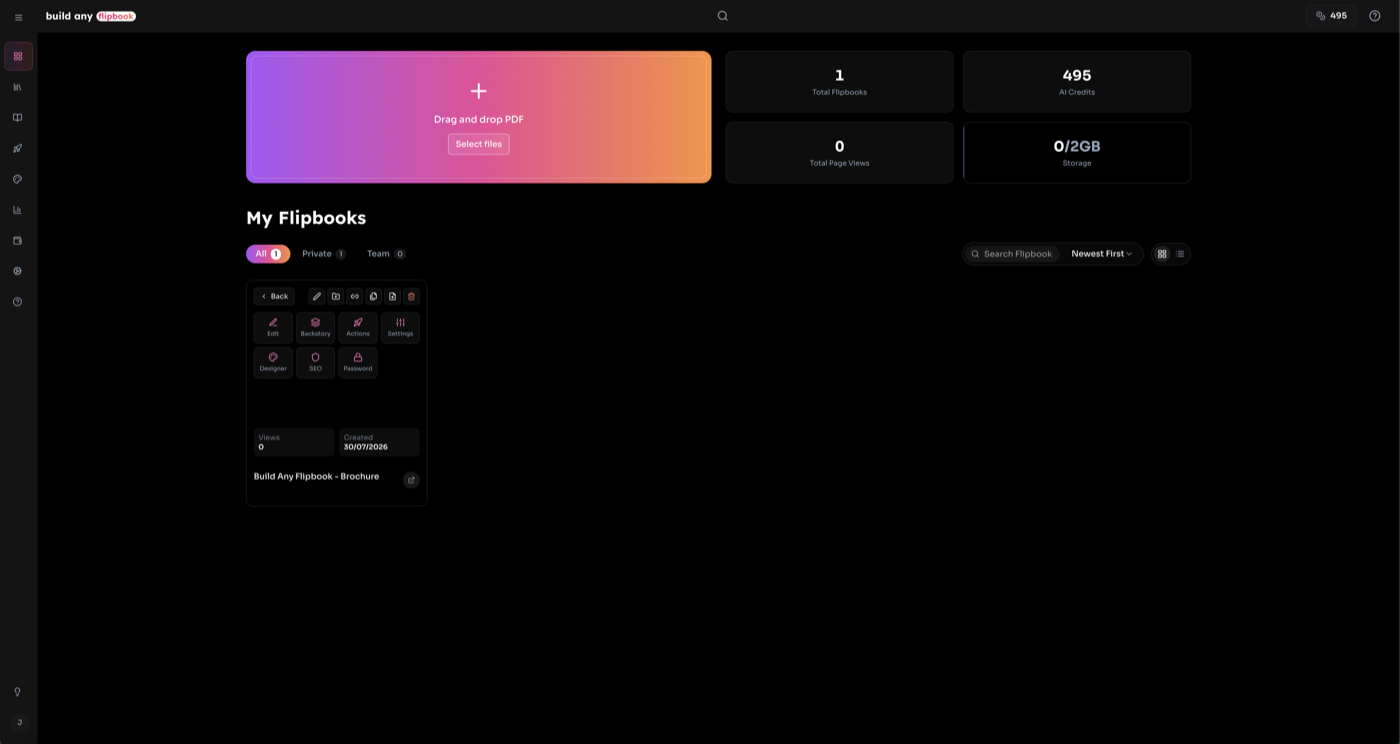
Click the centre icon on any flipbook thumbnail to open the detail view — an intermediate management screen within the dashboard.
- Live preview: An embedded, interactive flipbook viewer showing all pages.
- Privacy settings: Toggle between Private and Team visibility, set or change passwords (owner only).
- Sharing: Copy the flipbook URL or open the full share dialog.
- Manage actions: Quick access to Editor, Embed, Analytics, Designer, Add to Collection, Replace PDF, Duplicate, Rename, and Delete.
- AI feature toggles: Enable or disable AI features (Chat, Summary, Listen, Index, FAQ, Backstory, Glossary, Search, Quiz) with one click.
- Stats: View count, page views, AI credits used, and creation date.
11.3 Grid & List Views
The dashboard offers two ways to browse your flipbooks:
Grid View
Portrait thumbnail cards with hover actions. Features include:
- • 3D flip "More" menu with action grid and stats
- • Hover-only gradient badges (Team, Protected, Chat Protected)
- • Gradient "Open" button in the centre of each thumbnail
- • Quick action icons (delete, share, settings) on hover
- • Responsive columns (2-5 based on screen width)
List View
Compact rows with expandable details. Features include:
- • Click the settings icon to expand a row
- • Expanded view shows action grid, AI feature toggles, and stats
- • Ownership and information badges organized in columns
- • AI feature toggle buttons to enable/disable features per flipbook
- • "Configure in Edit Mode" link to open the full editor
12. Edit Mode
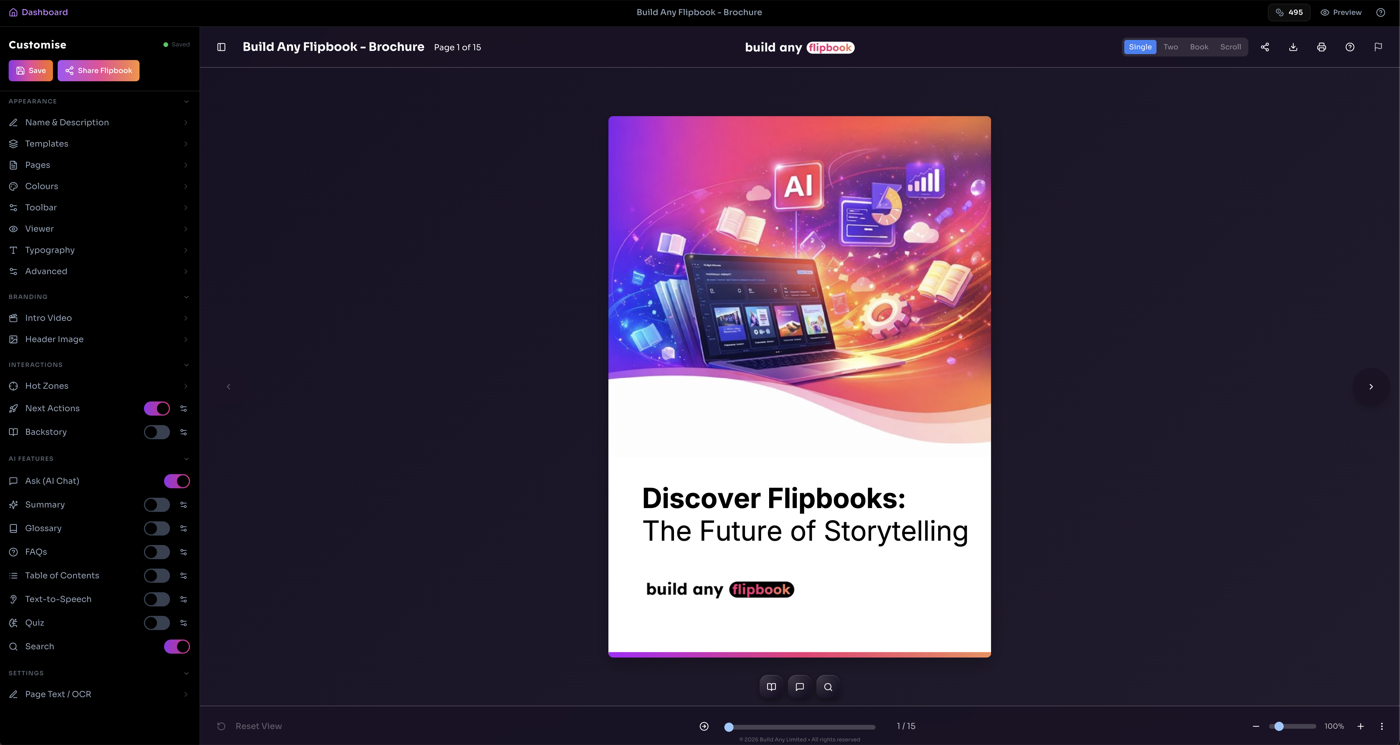
Edit Mode provides a comprehensive editing environment for your flipbook. Access it by clicking "Editor" from the detail view or the grid/list view action menu. The live flipbook viewer is displayed on the right while the Customise sidebar on the left gives you access to all editing tools.
Customise Sidebar Sections
- Appearance — Name & Description, Templates, Pages, Colours (with presets), Toolbar/Background, Viewer, Typography, Sound, Advanced
- Branding — Intro Video, Header Image
- Interactions — Hot Zones, Avatars, Next Actions (opens in new tab), Backstory (opens in new tab)
- AI Features — Toggle rows for Chat, Summary, Glossary, FAQs, Table of Contents, TTS, Quiz, and Search
- Settings — Page Text/OCR editor
Click any section header in the accordion to expand it, then click a menu item to open its settings in a deep tab view. Use the Back button to return to the main menu. Changes to design settings preview live on the viewer.
💡 Auto-save: Design changes auto-save after 1 second. Look for the status indicator next to "Customise" — amber means saving, green means saved.
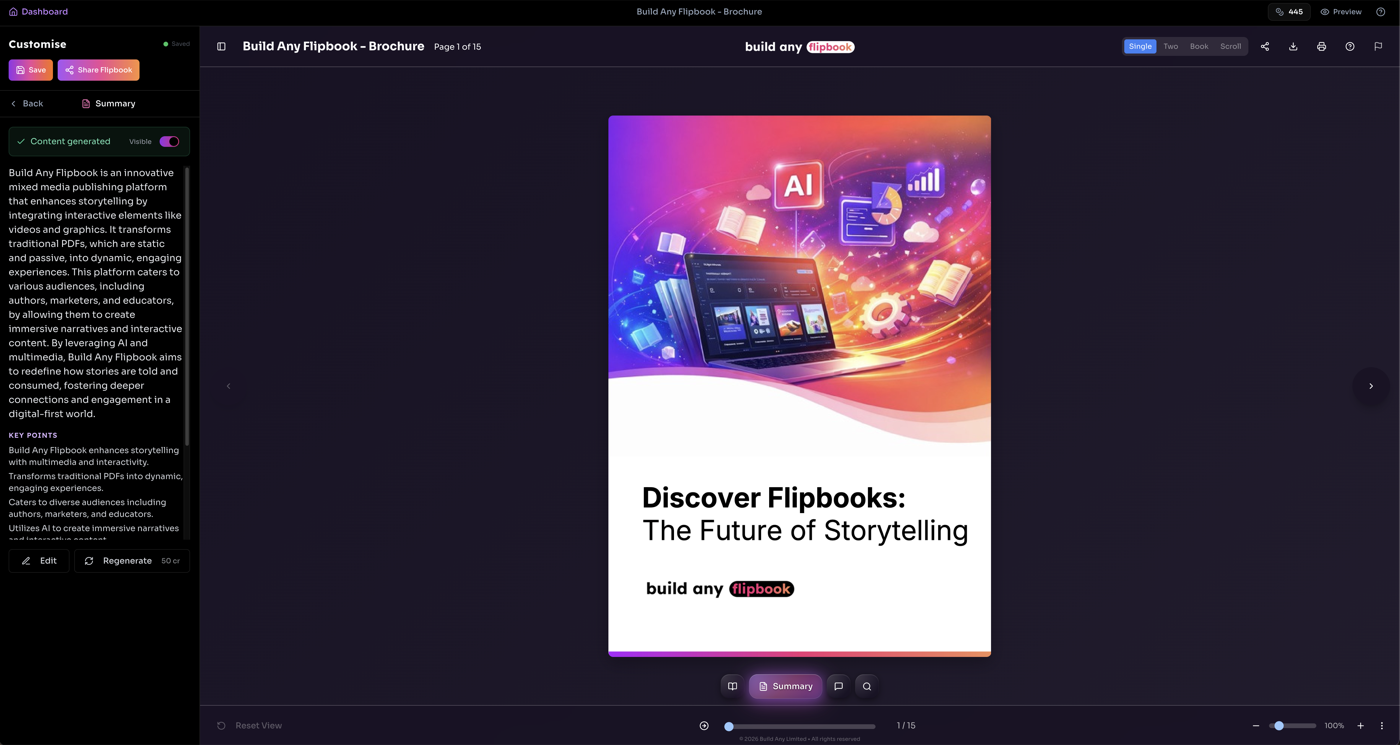
12.1 Design Settings
Edit your flipbook's visual appearance directly from the Customise sidebar without leaving edit mode. All changes preview live on the viewer.
| Setting | What it controls |
|---|---|
| Pages | Border radius, shadow depth, page turn animation style, spine shadow |
| Colours | Background, toolbar, header, text colours — with one-click preset themes |
| Background | Solid colour, gradient, or image backgrounds with optional patterns, overlay colour, and blur |
| Viewer | Toolbar visibility, title toggle, loading screen type, spinner picker, spinner colour, custom preloader image, loading background colour |
| Typography | Font family, weight, size, and title text transform |
| Sound | Page turn sound presets (or custom upload), background music with volume, loop, and autoplay controls |
| Advanced | Inject custom CSS into the viewer for complete styling control |
12.2 Templates
Save and reuse design configurations across your flipbooks using Templates.
- Open Templates from the Appearance section in the Customise sidebar
- Save your current design as a named template for future use
- Apply a saved template to instantly update all design settings
- Templates are also available on the standalone Designer page
12.3 AI Feature Toggles
The AI Features section in the Customise sidebar shows toggle switches for every AI feature. Each toggle controls whether that feature is visible to viewers.
- Enabled (gradient) = visible to viewers
- Disabled (grey) = hidden from viewers
- Click the settings icon next to any toggle to open its editing panel
- Features are auto-enabled when first generated
- Disabling hides the feature without deleting generated content
13. Designer
The Designer page provides a dedicated environment for customising your flipbook's visual appearance. It uses a three-column layout: narrow tab buttons on the left, a wider settings panel in the centre, and a sticky live preview on the right.
Designer Tabs
- Colours — Background, toolbar, header, and text colours with preset themes
- Pages — Border radius, shadow, turn animation, spine shadow
- Toolbar — Visibility, positioning, and content options
- Viewer — Logo, title display, loading screen
- Typography — Font family, weight, size, title transform
- Sound — Page turn sound effects and background music
- Advanced — Custom CSS injection
A "Current Design" summary card below the preview shows the active design properties at a glance. The Designer also supports saving and loading design templates.
💡 Tip: The same design settings are available inline within Edit Mode, so you can customise appearance without leaving the editor.
14. Access Information
The Flipbook Viewer landing page is accessible at:
💡 Tip: Anyone with a flipbook link can view it in their browser - no account required!
15. Document Information
Last updated: July 2026 • Back to Build Any Flipbook